Here is my second bed frame from the same plans. Since I have already documented the process once, this will focus on the changes that I made.
Please check out the design from Knock-off Wood… Ana White’s website is amazing.
————————————————————
This time around, I used A/A grade, oak-veneered PureBond plywood (contains no formaldehyde in the adhesive) and oak trim. This enabled me to stain the final product to match the rest of my furniture.
————————————————————
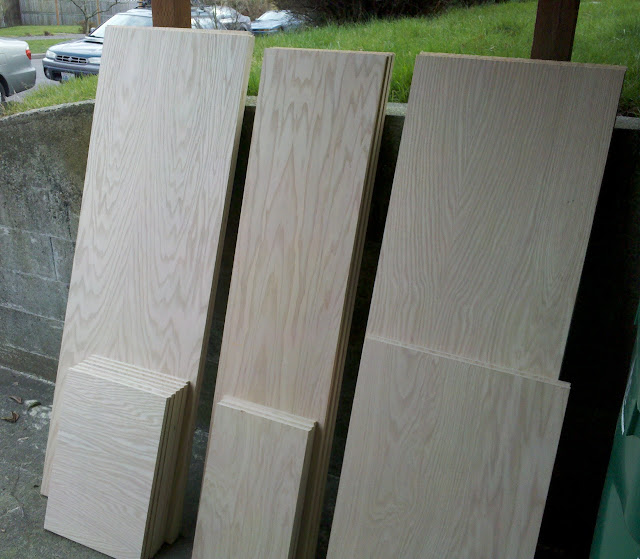
Starting off with the raw materials… Here you can see the plywood cut and stacked:
————————————————————
Here are the bench sections being glued and brad-nailed. I constructed a template for the tricky sections so that everything would be aligned (the bench is upside-down in this photo):

————————————————————
A small modification was made to reinforce the bottom corners with a short 2×2. Later you can see the rubber feet attached to this portion of the frame (note the excessive glue):

————————————————————
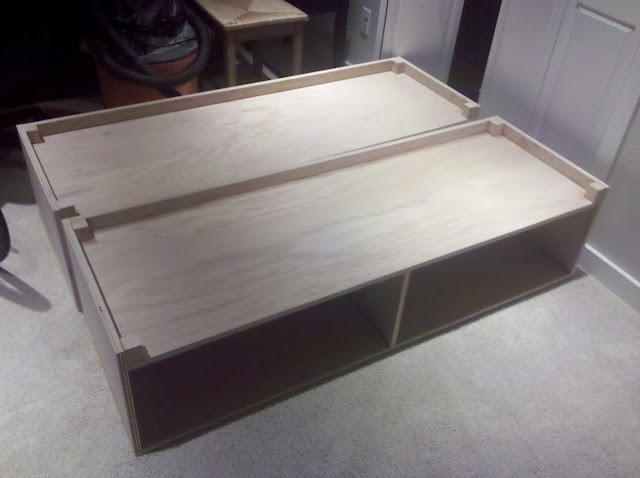
Two of the three benches upside-down and ready for trim:
————————————————————
Once all three benches were trimmed-out, and the center-support was assembled, the parts were aligned so that slots could be cut into the top for the mattress to “breathe”: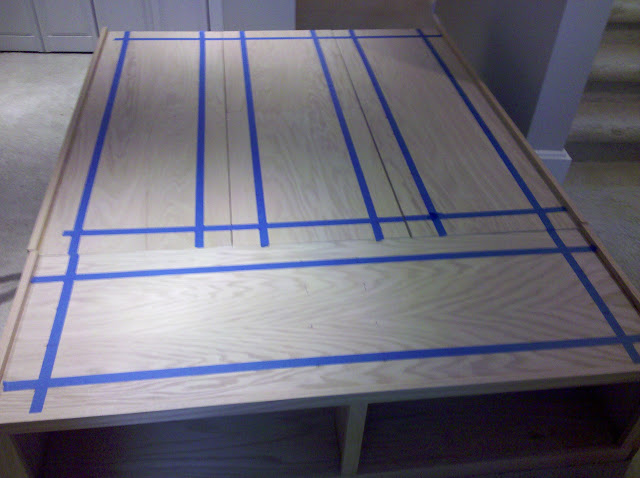
————————————————————
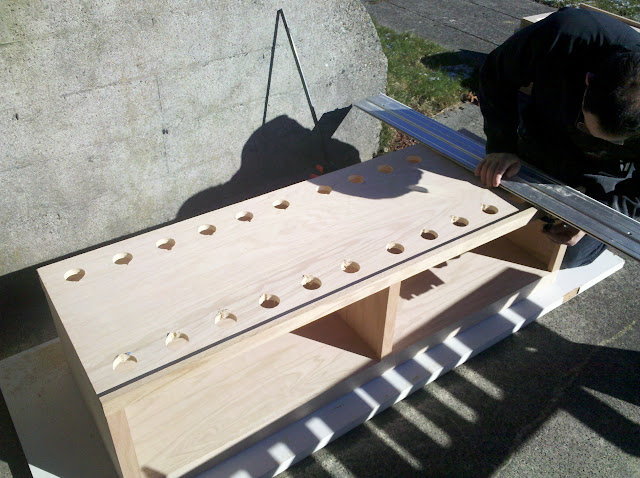
Holes were cut in a grid pattern to created corners for the slots:
————————————————————
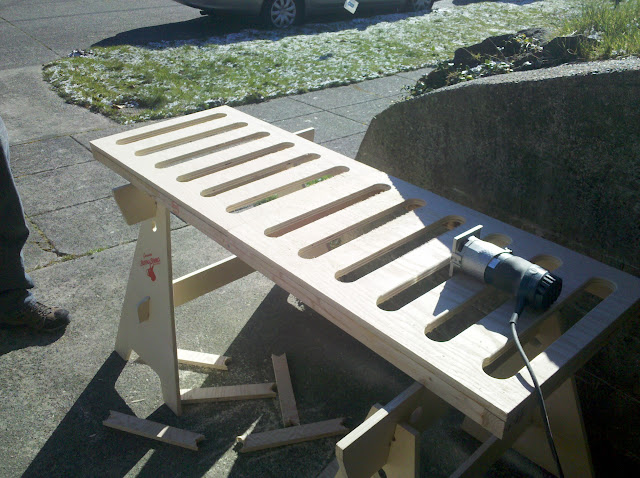
Slots were then finished with a circular saw, and rounded off with a trim-router. This was a very tedious process. Unfortunately, it was also deemed unnecessary once we decided on a foam-based mattress. FWIW, the slots make it much easier for a person to carry and assemble the pieces without assistance (this picture shows the center section over a 2×2 frame):
————————————————————
Staining:
A simple, one-step Minwax (stain/polyurethane) product was used on the parts that will not be seen once assembled. Many woodworkers are dismissive of the stuff, but I was happy as long as I didn’t get my hopes too high, and treated it more like paint. Yes, I just slathered it on with a brush and did my best to avoid the trim.
For the parts that would be seen (oak trim and sides of the foot bench), a three-part system was used: Analine dye, wiping stain, and then a polyurethane finish. This produced a nice result, although application errors with the poly led to a loss in the depth of the ebony color… oh well.
————————————————————
After a ton of sanding and staining, small rubber feet were attached to the bottom corners to protect both the benches and the floor:
————————————————————
Now inside: Here is a close-up of the pine 2×2 frame holding up the center section:

————————————————————
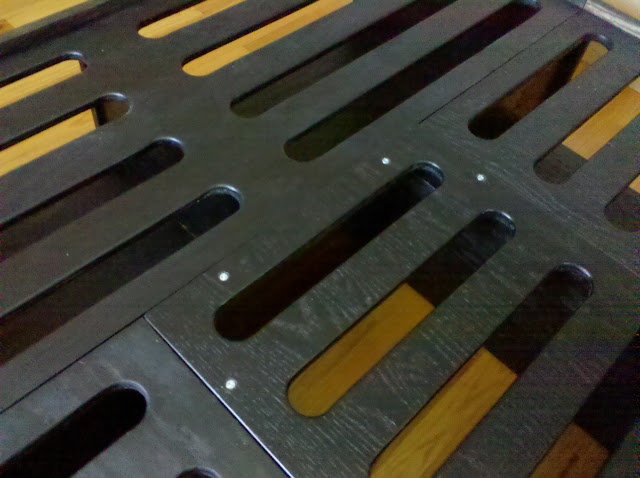
Screws were then used to hold all of the pieces together. In this shot you can see the that the finish from the one-step stain is OK, but not great:
————————————————————
Here you can see all of the benches and the center-support aligned with the headboard:

————————————————————
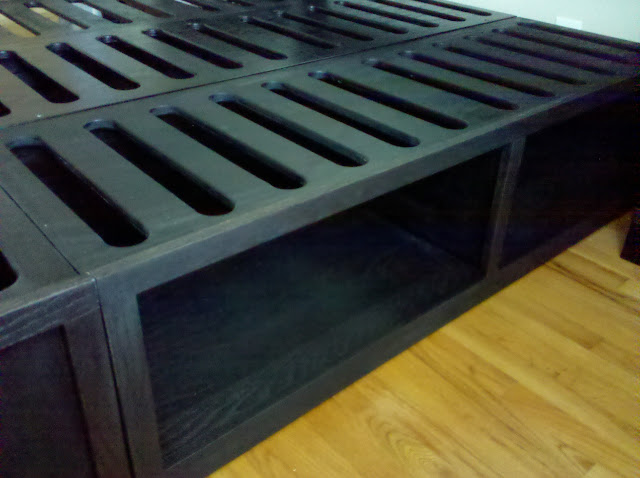
And here is a close-up of the oak trim. It is difficult to tell in the pictures, but the depth of the grain in the trim is much better where the three-part staining process was used:
————————————————————
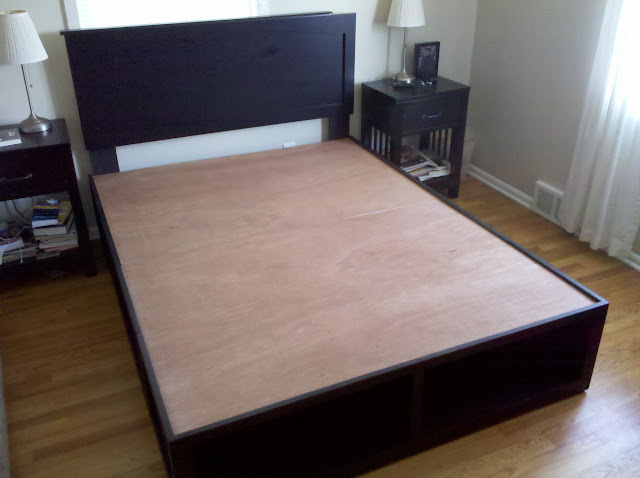
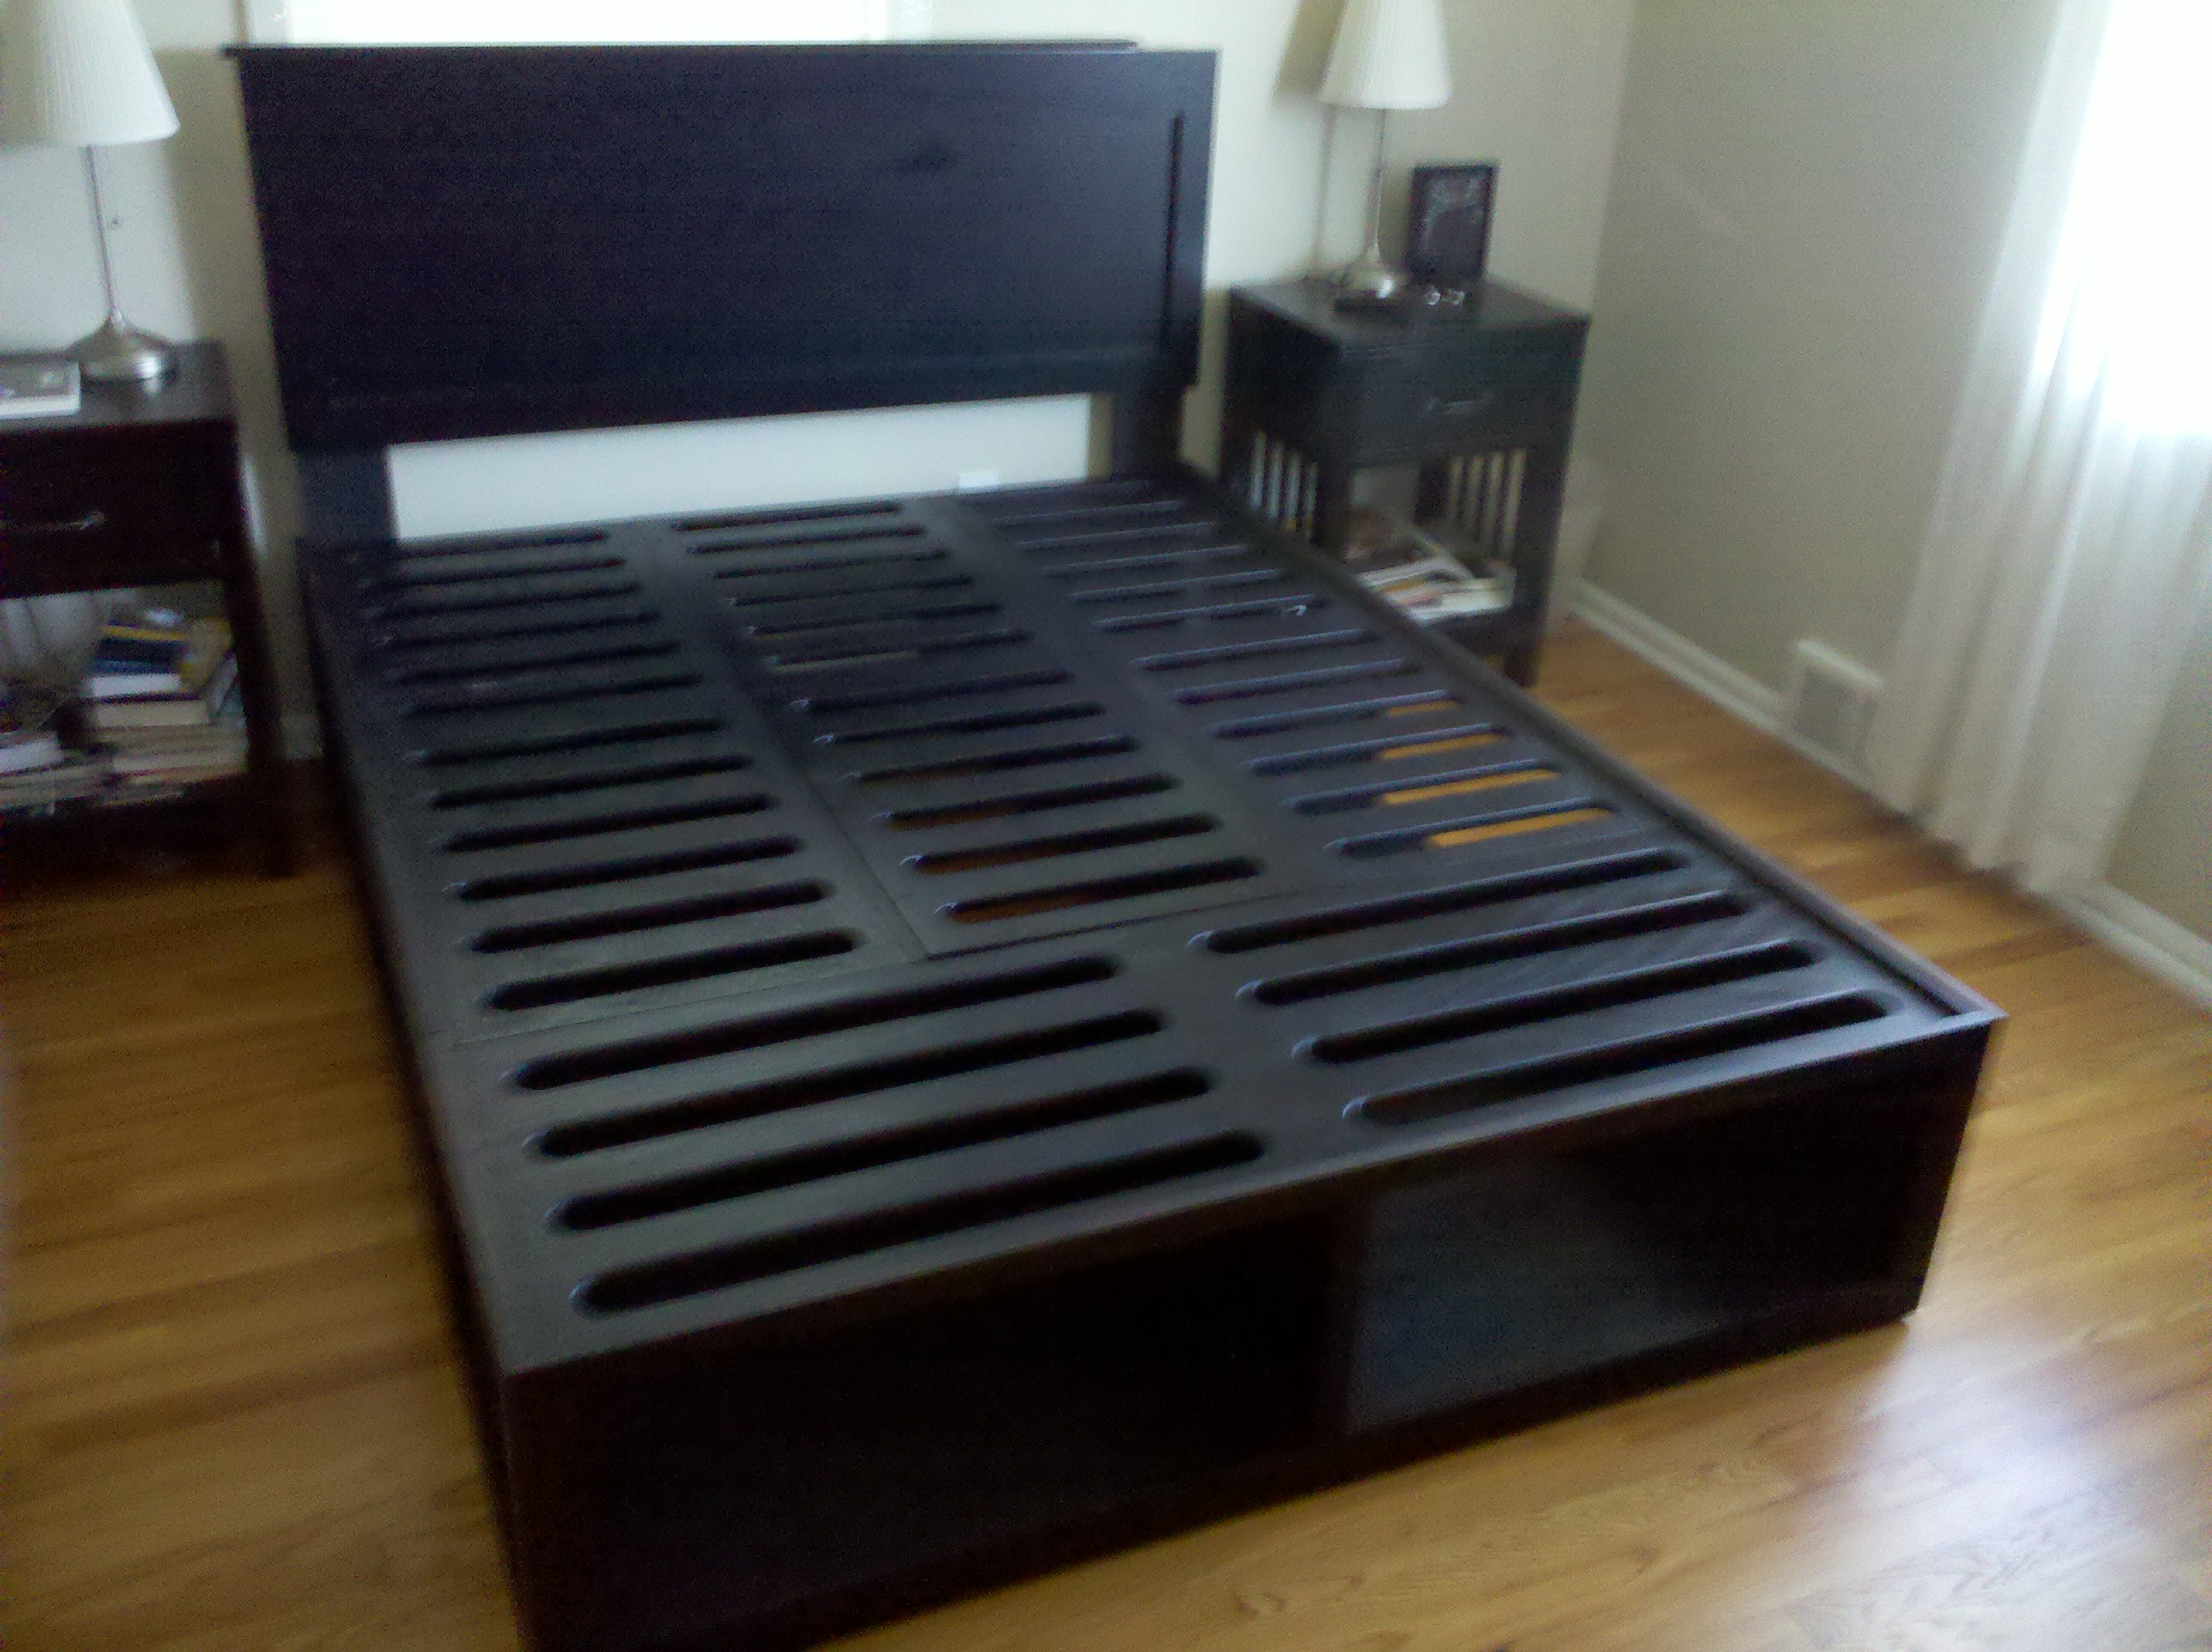
Unfortunately, the new mattress required a continuous support surface, so I had to cover the slots with 1/4″ lauan plywood! Approx. 1/2″ of the oak trim remains above the surface to prevent “mattress drift”:
————————————————————
Finally, here is the finished product:

This is gorgeous! I love Ana White’s site, and I had to see it finished. What did you do with the below area? Did you basket/drawer/curtain it? Would love to see the bed fully made up with bedspread and cubbies filled! 🙂
I have to admit that I have not yet found suitably-sized baskets. My plan is to build drawers when time allows. At present, it looks pretty good with the comforter partially covering the cubbies to hide the books, etc. that get thrown in there.
Unfortunately, I have not made much progress on getting baskets purchased or drawers made… I think I need a new workshop…
Did you make the headboard yourself as well? Have any plans for it 😉
I just got a good king size mattress and two twin boxsprings from family for helping them move and am really wanting to do this project. Do you think it possible to use the boxsprings as well? I’m pretty darn tall so i’m not too worried abou the added height. Thanks for the write-ups and pictures!
The headboard is basic particle board with a veneer (from a seller on Amazon). It was damaged in a move, so I replaced the top trim piece with black, stained oak… Much better now. I would check out Anna White’s site for headboards if you want to make one.
You certainly could use a box spring… it would likely help with airflow as well if you are using a traditional mattress. I would recommend closely measuring everything first. Personally, I dislike tall beds… Too far for the kids to fall, and I like the lower styles from an aesthetic standpoint. A box spring would make this bed way too tall for my taste… Heck, I even lowered the original slightly.
If the design suits you needs I highly recommend it… I have moved it with ease, and it has held up VERY well with three years of use so far.