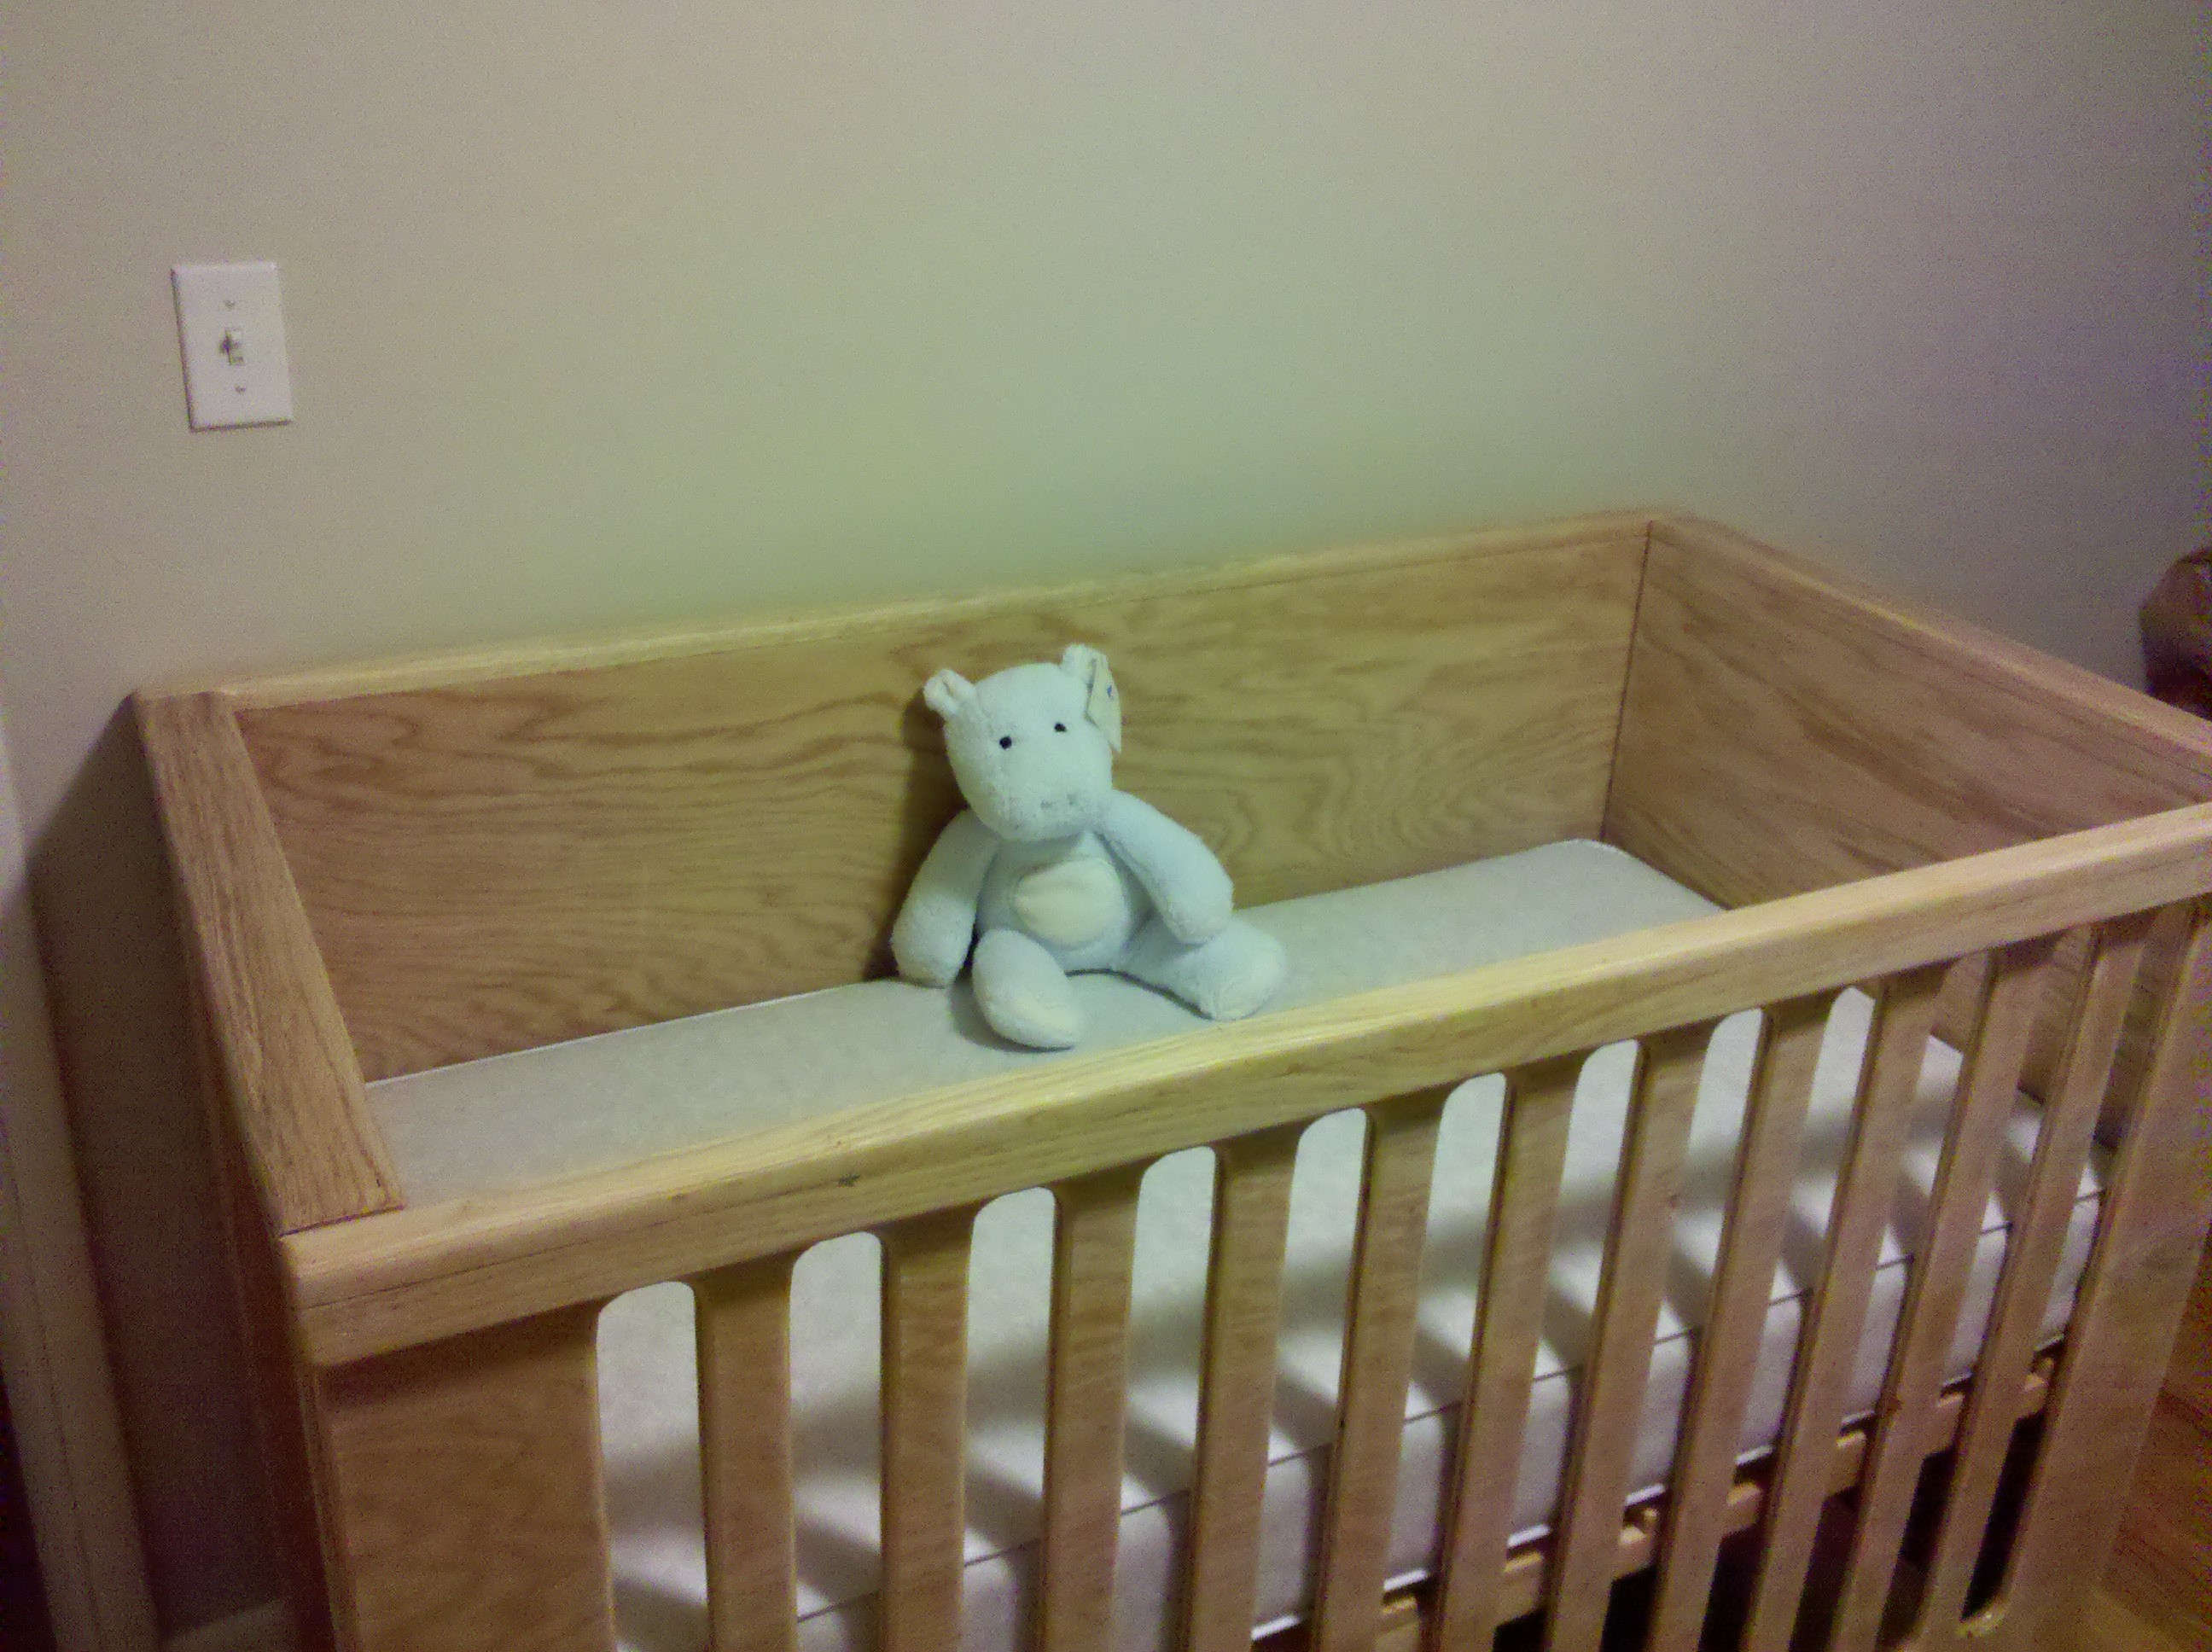
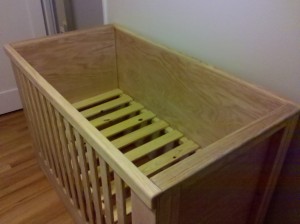
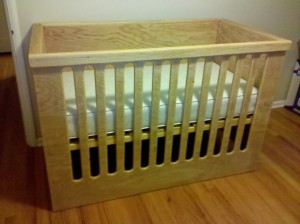
This is the crib I built for our son. I am working to purge all MDF from our home, and it didn’t seem like a good idea to buy a “cheap” crib (anyone who has priced them will know why I used italics there…). My primary concern is formaldehyde and off-gassing in the home. There seems to be some debate regarding the actual levels released from furniture that is more than a year old, but I decided to make the crib from Purebond plywood just to be sure . Purebond uses a soy-based adhesive that is completely non-toxic (theoretically edible), and has an Oak veneer. It is the same price as normal A/A quality plywood at Home Depot, so it seemed like a no-brainer. I used Oak trim around the top, and Pine 2x2s for side supports/screwing together. It was finished with clear shellac (Zinsser), so that it could be safely chewed on. Until researching this project, I didn’t know that pure shellac is FDA certified as a food additive (shiny candy and prescription drugs)!
Please note: take care if you decide to copy my design… be sure to follow all federal guidelines regarding width of the slots in front, and the minimum height from mattress to the rail of the crib when the mattress support is in its lowest position.
Overall Design: My drawings and specs will not be published. I feel that it is too important to make a crib that fits your mattress, so the exact measurements will be of little use. I followed the design characteristics of several cribs (both DIY and commercial). I really liked the oeuf cribs… However, this DIY design was the most influential for me: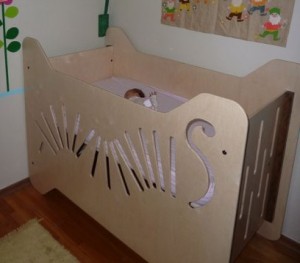
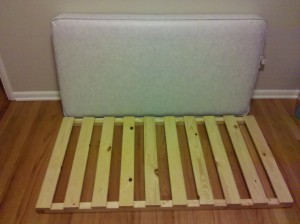
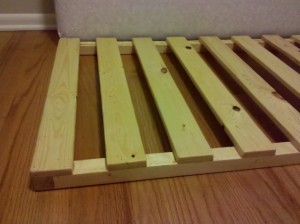
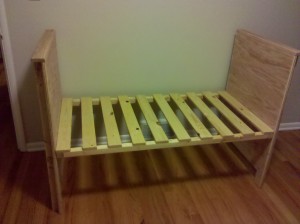
Crib Base and Mattress: The project began after taking the measurements of the mattress we bought. This way I could ensure that there was no void space along the edges… this is very important for safety. The base was made with a Pine 2×2 frame and Pine 1×3 slats. They were thoroughly adhered (with glue certified for “indirect food contact”) and a brad nailer was used to pin them down while drying.
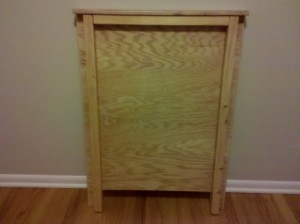
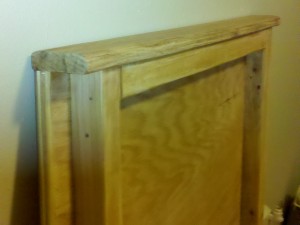
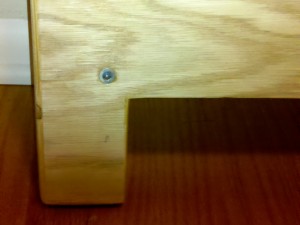
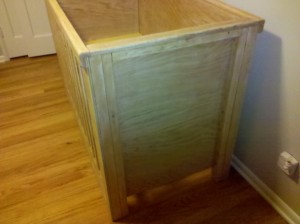
Crib Side: Pretty straightforward… glue and brads holding each 2×2 to the plywood. The 2×2 under the top rail was used so that there is a nice solid handle to lift the unit. A 4″ slot was cut out of the bottom to promote air circulation (or the losing of toys…)
Crib Mattress Base Support: A close-up of the support mount insert for 1/4-20 hardware – this is the lower position for when the kid is sitting up. At first the mattress support will be screwed into the set of slots 12″ higher. Some cribs come with 3 or 4 mattress height options… from what I can tell, only two generally get used.
Mattress base with sides attached: Here the support is in the upper position that will only be used until the baby can sit up. The concern is that you can never tell when they are about to pull themselves up (and over) at that point!
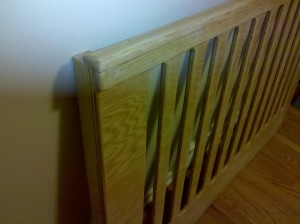
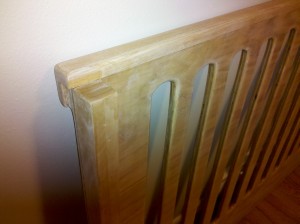
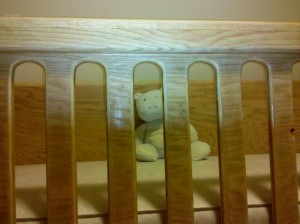
Routing the front slots: This was, by far, the most complicated part. I had to build a template that could be slid along the plywood, and could be kept square and secure in the process. I broke two router bits before I settled on a procedure of making five passes to get through the 3/4″ material. Once done, I used a roundover bit on a ball-bearing to smooth the edges before final sanding. It took quite some time to make sure all surfaces were smooth enough for little fingers. If you look at the zoomed image, you can also see that my cheap bit (I broke the expensive one!) also burned the wood in the process. Thankfully, this did not show up on the finished product.
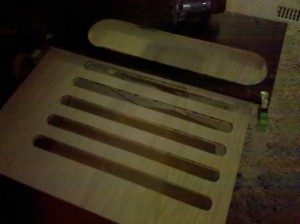
Crib Front: The front panel was trimmed with Oak 1x2s and Pine 2x2s were glued and nailed to provide attachment points.
Attaching the front and back: this close-up shot reveals imperfections that are not visible during real-world use. The oak caprail along the sides was the last part attached after lots of sanding and trial fittings… this allowed for tight tolerances along the top where little hands may be grabbing. 3″ zinc wood screws were used to secure the pine 2x2s to each other. Using this method, there were no exposed screws or holes on the inside of the crib, and there is plenty of material to be able to assemble/disassemble the crib many times.
Fully assembled:
Testing it out: (editor’s note: no animals were harmed while testing or filming)
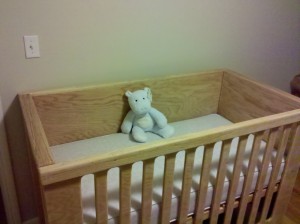
And finally, ready for Teddy: Here Ted is checking out his new “sleep sheep” (white-noise maker). Don’t worry… this is taken at an odd angle, and the sheep is hanging well above him.
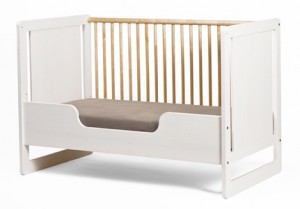
For the future: I still need to work on building a new front for when it is converted into a toddler daybed. For this, I will build something similar to the oeuf conversion kit:


That’s a great looking crib, and I’m glad you liked my design (caterpillar crib). I wholeheartedly agree about avoiding mdf and other chemicals with VOC’s. I didn’t finish my crib with shellac as I didn’t know about it at the time (I now do all my wooden toys with a shellac finish). Did you know shellac used to be put on m&m’s? Gave it that sheen I guess…
We spent many dollars on purchasing a crib from a company that used renewable wood sources, finishes with no VOC’s, etc. At six months, our daughter decided to use the crib as a chew toy. Three months after that, our crib was recalled because California has more stringent guidelines about finishes on baby products, and the sealant used didn’t meet those guidelines.
that sounds like a terrible experience. I have read that another way to do it is to buy a high-dollar unfinished crib and then do it yourself with a finish that you trust. I can say from experience that it is a bit stressful to finish a critical project before the due-date (or potentially earlier!).