All posts by jkulstad

CNC “Artwork” – round 1

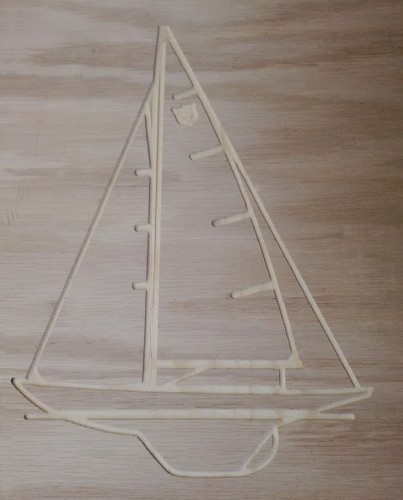
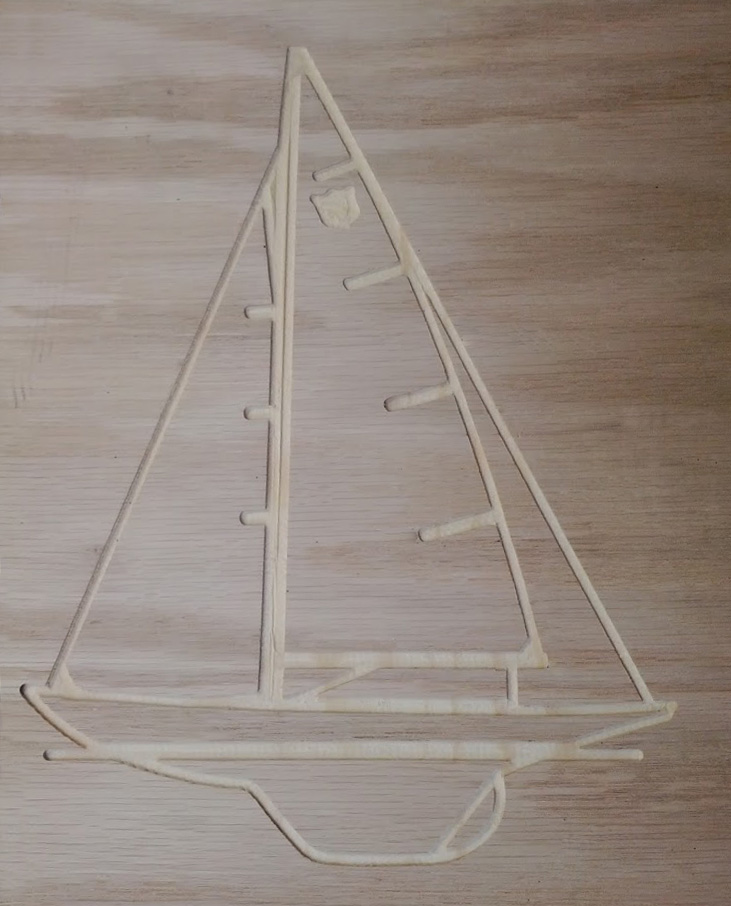
Milling wood is fun. However, my current challenge is finishing designs with the proper contrast.  This is the first project that I made, and left it without a  finish.  A decent start, but the design does not stand out.:

There are numerous options, but my primary goal is to minimize the amount of free-hand work for the sake of maintaining sanity.  To that end, I have tried out two options with reasonable results:

1) Staining the piece of wood dark or black before milling:  This piece has clear imperfections since the stain was only put on in one coat before cutting out the design.  Thicker coats would hold up better when sanding the finished piece.

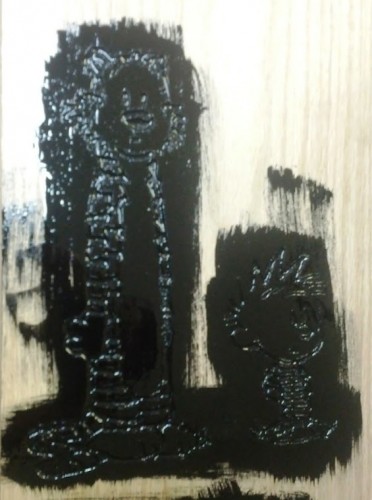
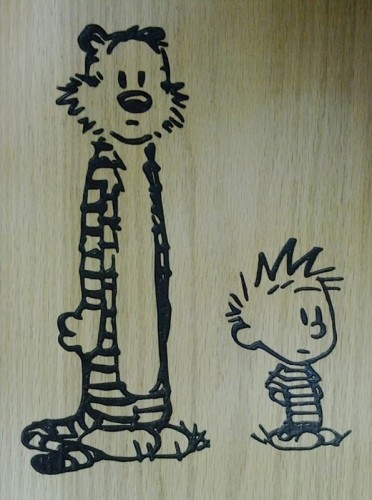
2) A multi-step process: coat with polyurethane, mill with CNC, stain black, and finally sand off the stain that is on the flat, clear surface for contrast.  This is much more work, but appropriate for some projects. Here are the last two steps…

Staining after milling:

After sanding the surface stain off:


Adventures in CNC

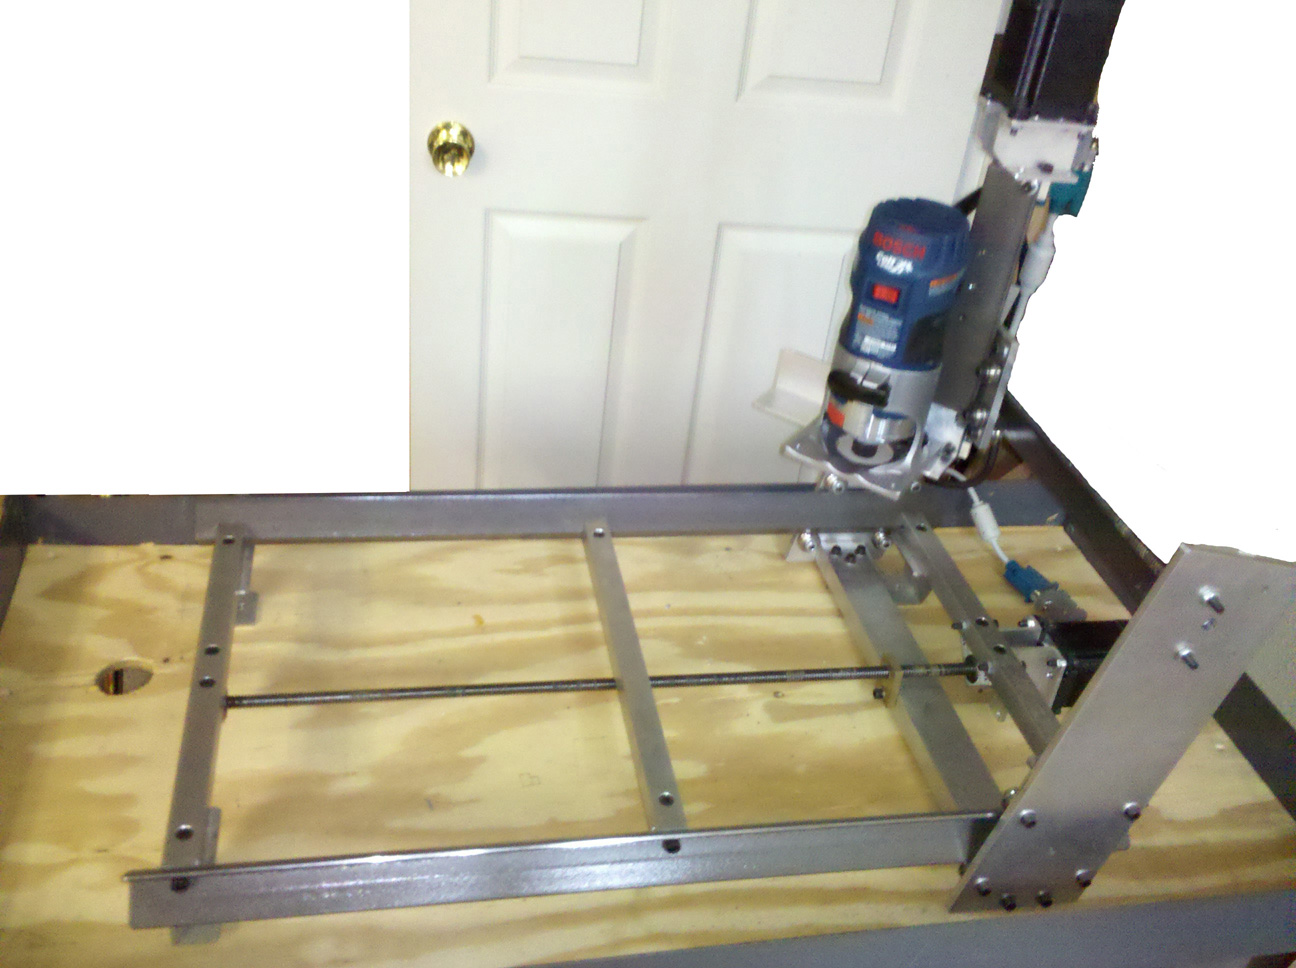
A fun project that I have been working on for a few years is my CNC machine. A lot can be learned through trial and error, but progress was slow for quite a while. To jump-start the process, I ended up using a fairly basic kit from eBay. Actually, it is two kits… one for the frame, and one for the Gecko drive components.

Here is an initial shot of the machine:

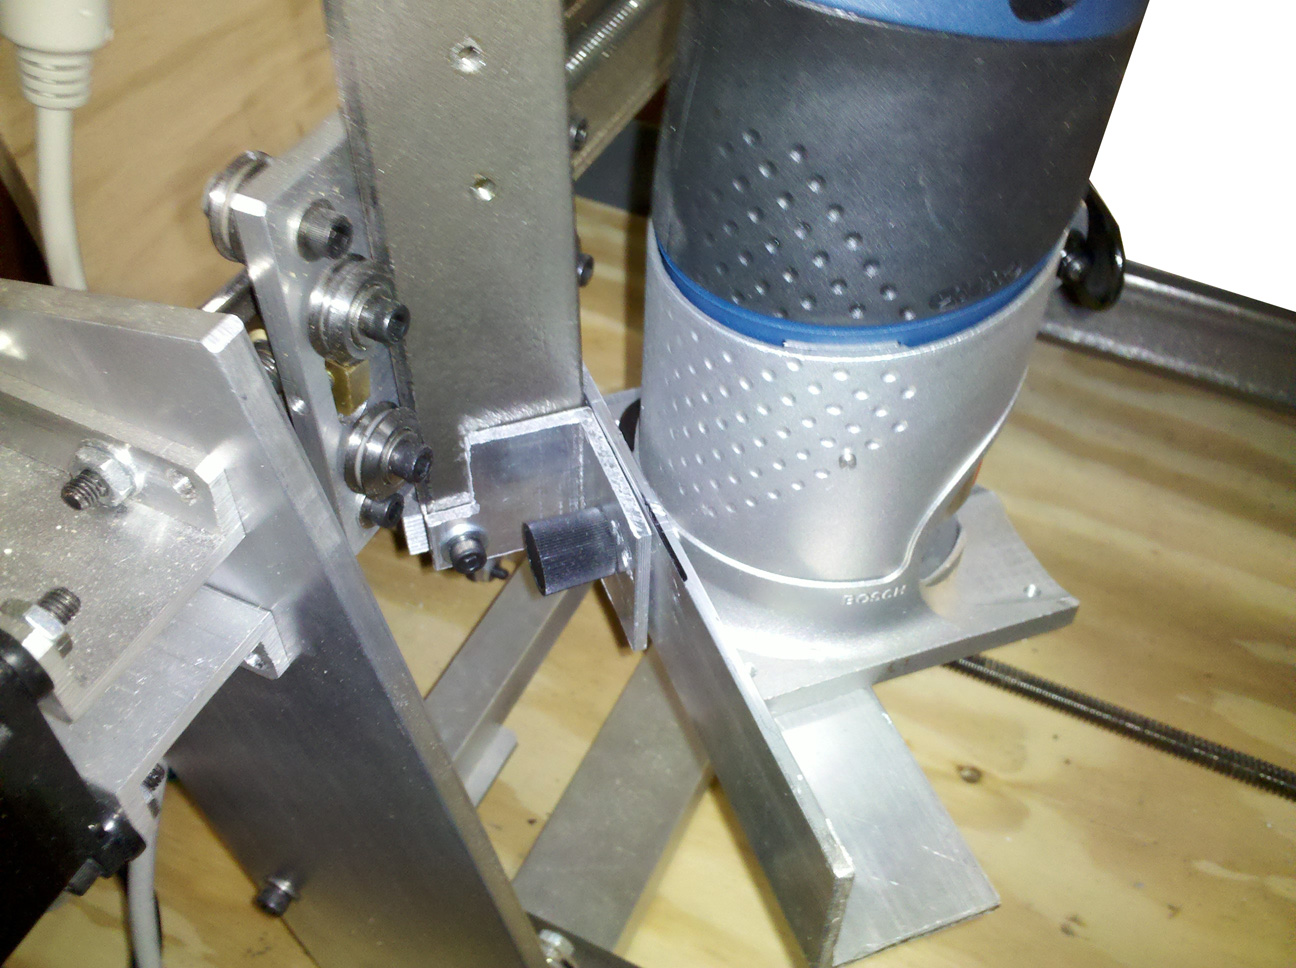
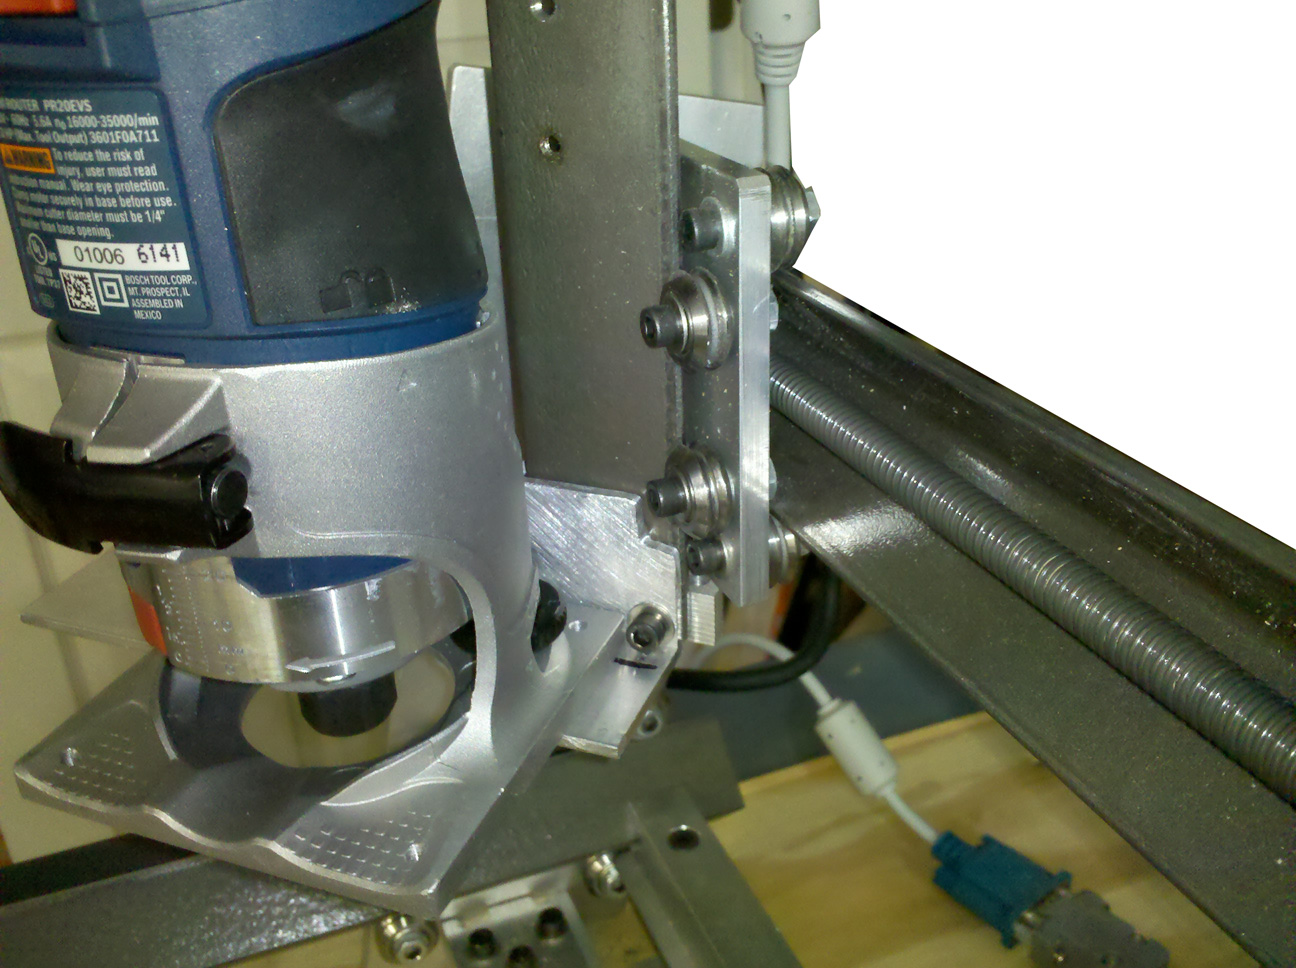
The first step was to construct a mount for my router. I used 1/8″ aluminum angle stock and attached it to the stock Bosch base for the palm router. I like the router so much that I bought a second router base to use the router off the CNC machine as well.

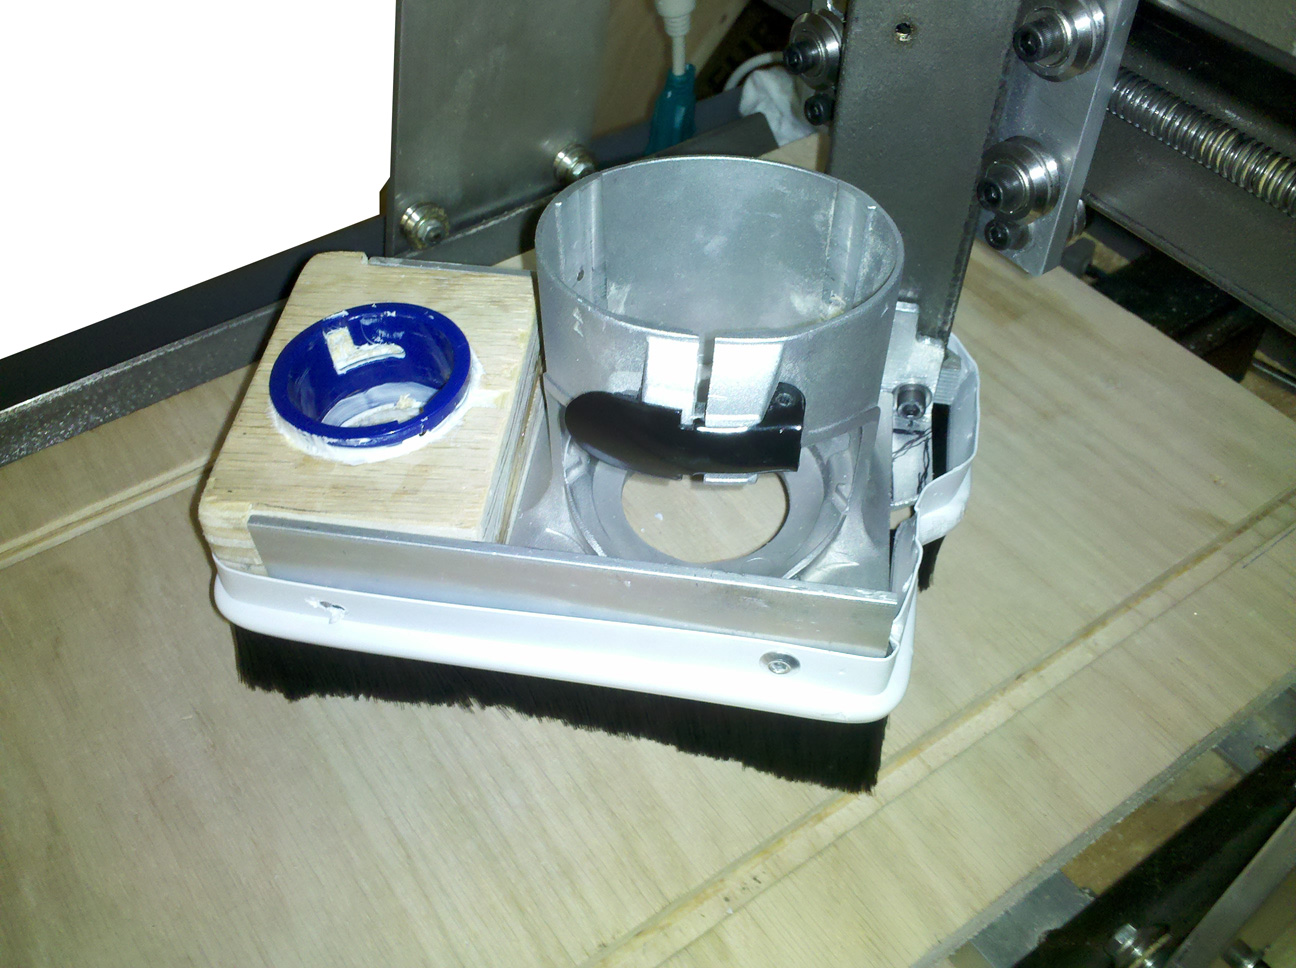
A “dust boot” was then added from a door sweep. this worked very well to contain dust, but had to be removed in the end since it interfered with cutting. The bristles were too stiff, and it caused a minor amount of deflection in the mount while routing. My goal in the end is to put this into an enclosure, so the boot is not particularly essential.

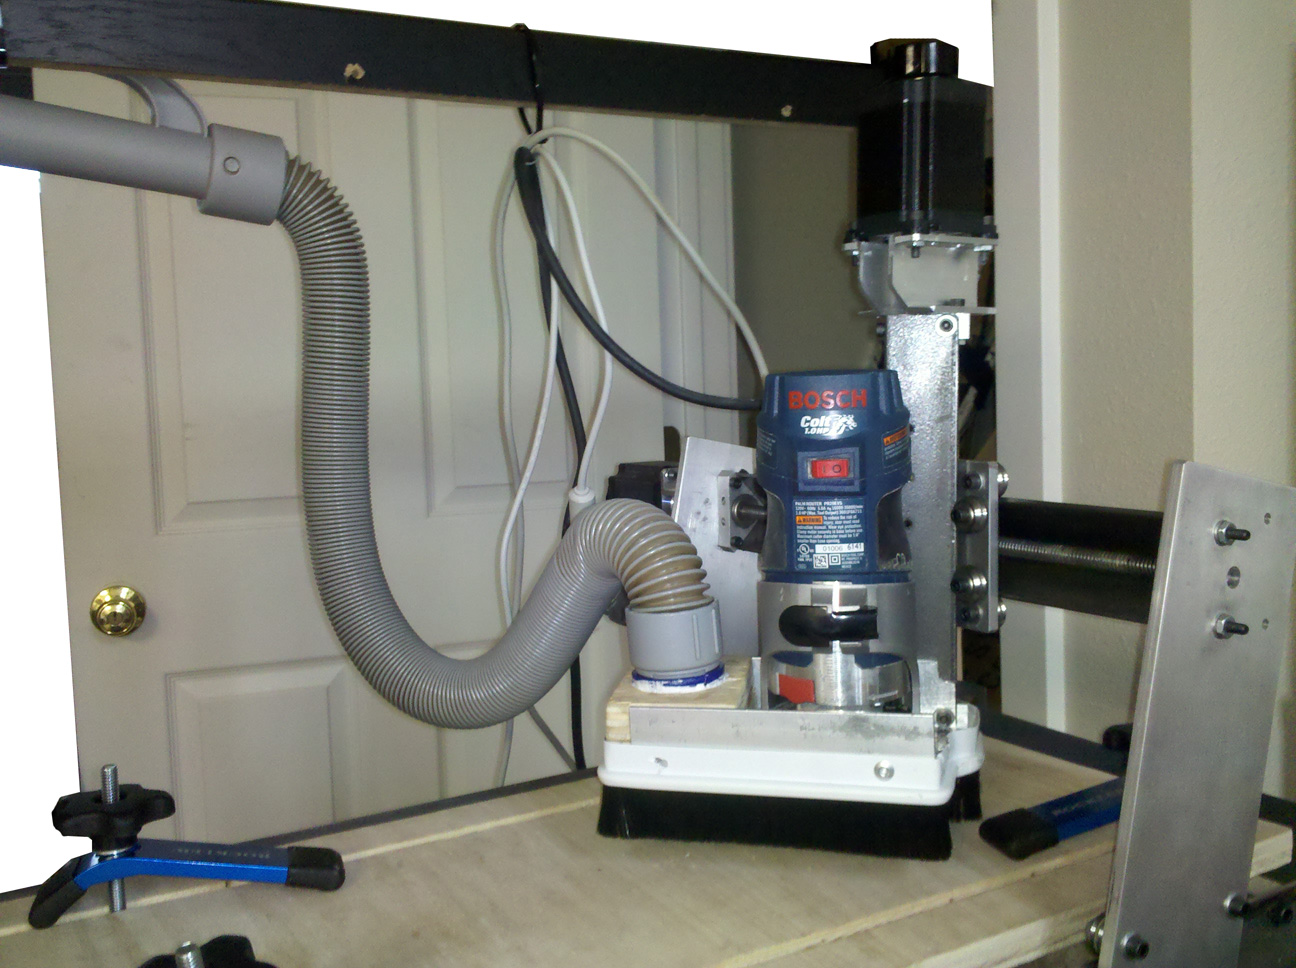
The critical part is the vacuum mount. The parts were salvaged from a broken upright machine, and silicone caulking holds the plastic in place. It is nice to be able to remove the hose when necessary. Without the dust boot the vacuum picks up most of the debris, but I am still looking for a better solution.

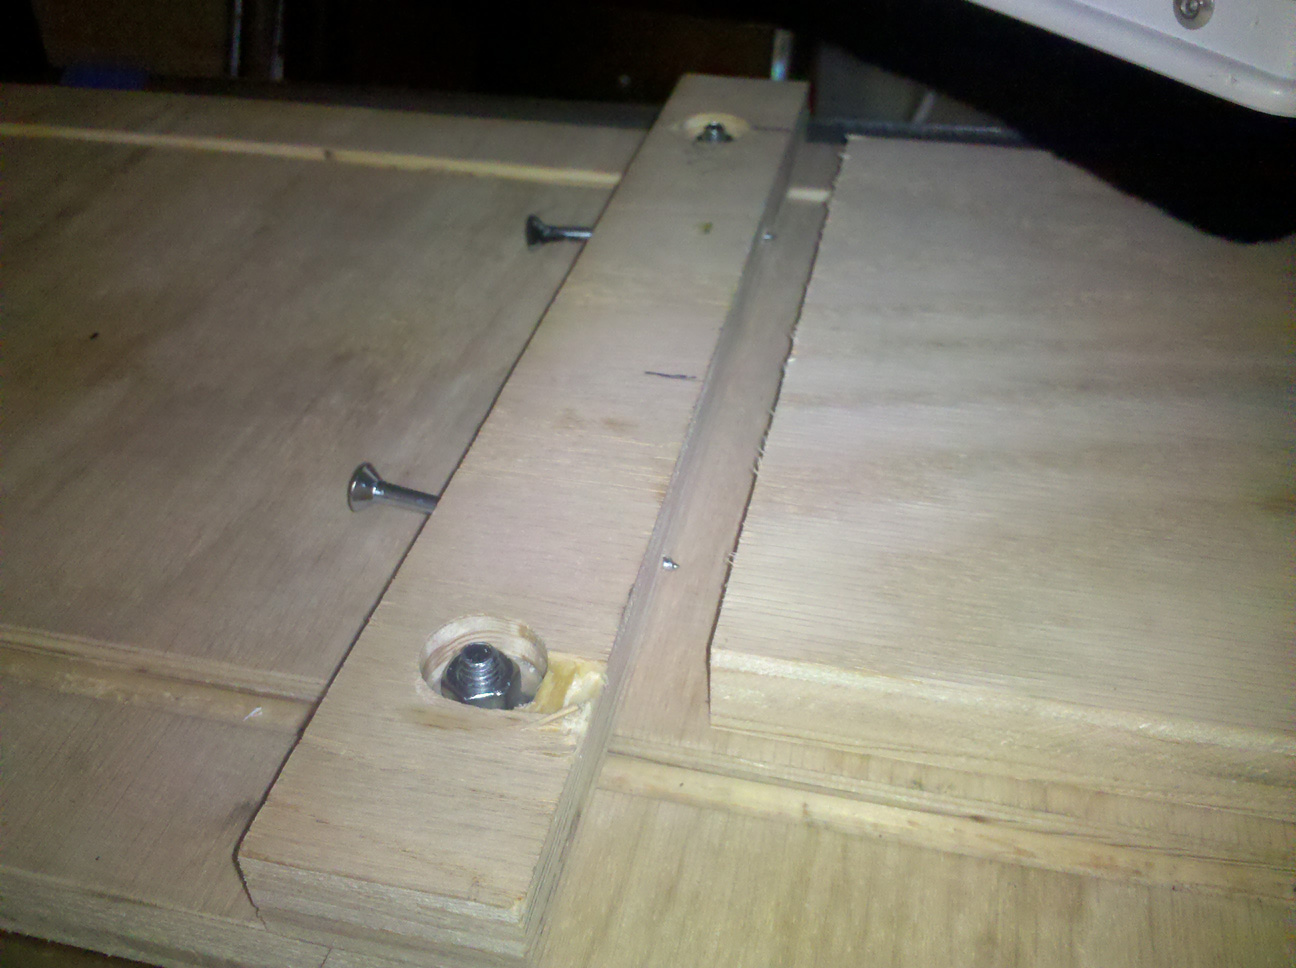
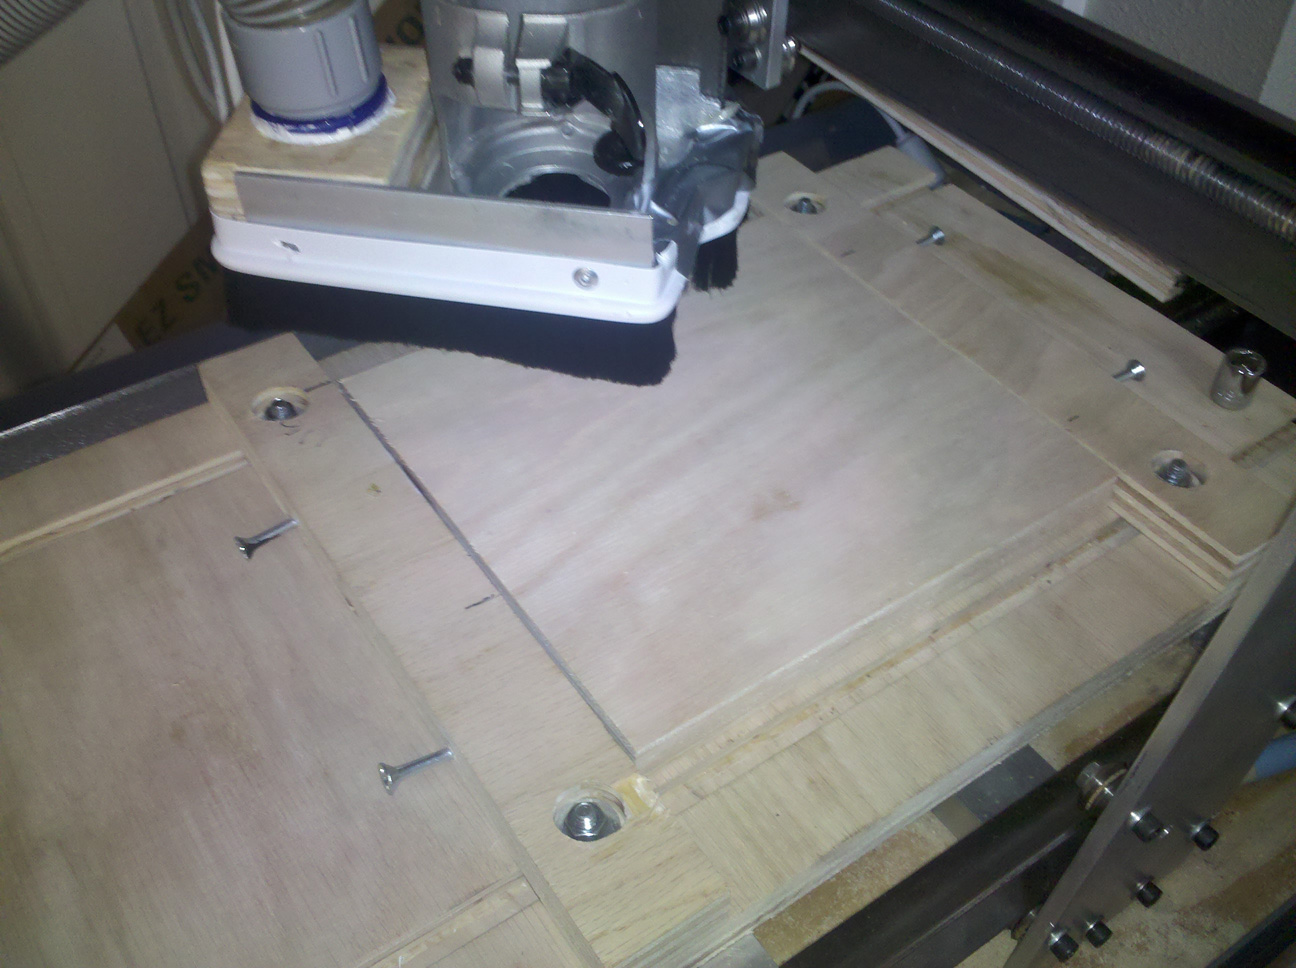
Clamps were purchased from Rockler (one can be seen in the shot above), and they are pretty nice. However, when cutting out small designs, they got in the way. So… I designed some low-profile clamps using bolts and plywood strips. Two screws protrude a bit from each piece to “bite” into the wood being clamped down. The process leaves a few very small scars on the sides, but is very effective. Most importantly, the machine mount does not hit the clamps while cutting!

A t-slot cutting bit was used to make the channels for the bolts. It works well enough for now.

Next up… Attempts at “Art”!

Building Storage Bed #2

Here is my second bed frame from the same plans. Since I have already documented the process once, this will focus on the changes that I made.

Please check out  the design from Knock-off WoodAna White’s website is amazing.

————————————————————

This time around, I used A/A grade, oak-veneered PureBond plywood (contains no formaldehyde in the adhesive) and oak trim. This enabled me to stain the final product to match the rest of my furniture.
————————————————————
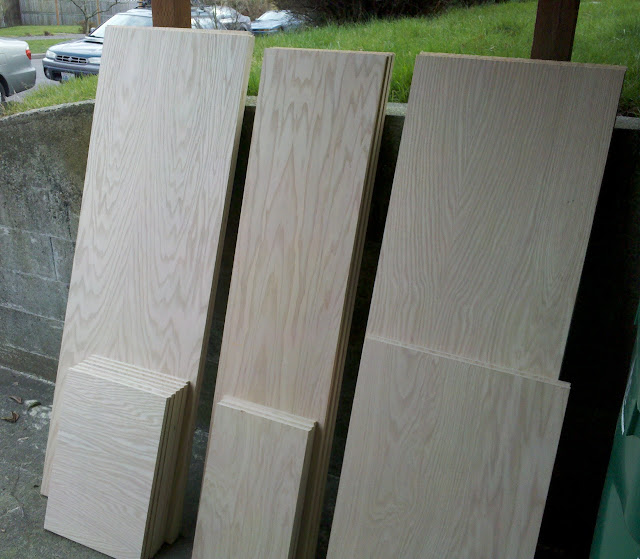
Starting off with the raw materials… Here you can see the plywood cut and stacked:

————————————————————
Here are the bench sections being glued and brad-nailed. I constructed a template for the tricky sections so that everything would be aligned (the bench is upside-down in this photo):

————————————————————
A small modification was made to reinforce the bottom corners with a short 2×2. Later you can see the rubber feet attached to this portion of the frame (note the excessive glue):

————————————————————
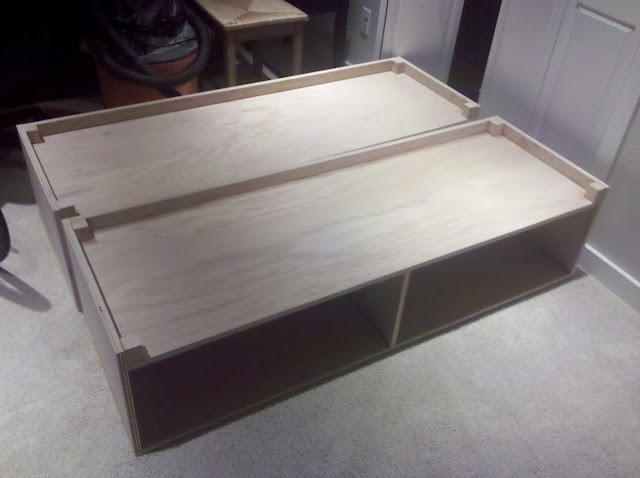
Two of the three benches upside-down and ready for trim:

————————————————————
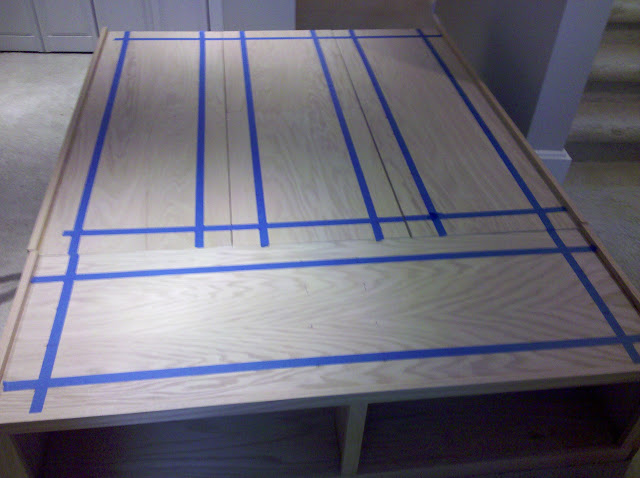
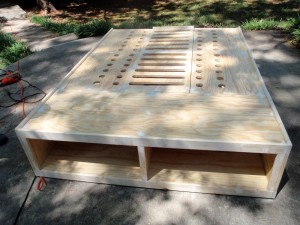
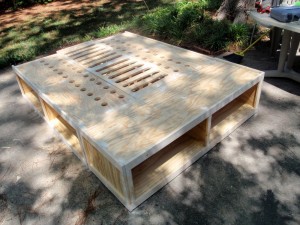
Once all three benches were trimmed-out, and the center-support was assembled, the parts were aligned so that slots could be cut into the top for the mattress to “breathe”:
————————————————————
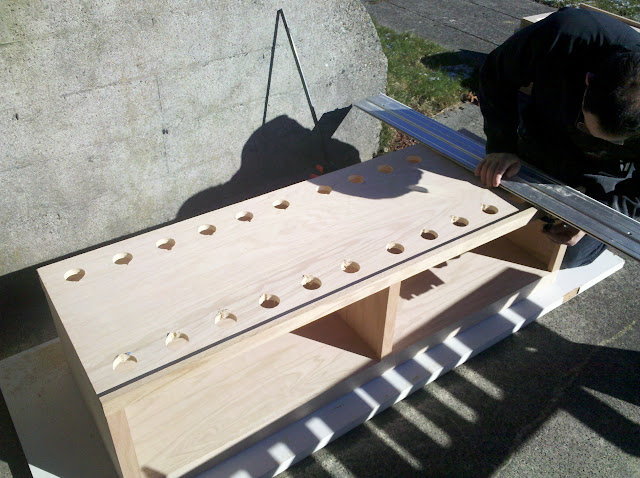
Holes were cut in a grid pattern to created corners for the slots:

————————————————————
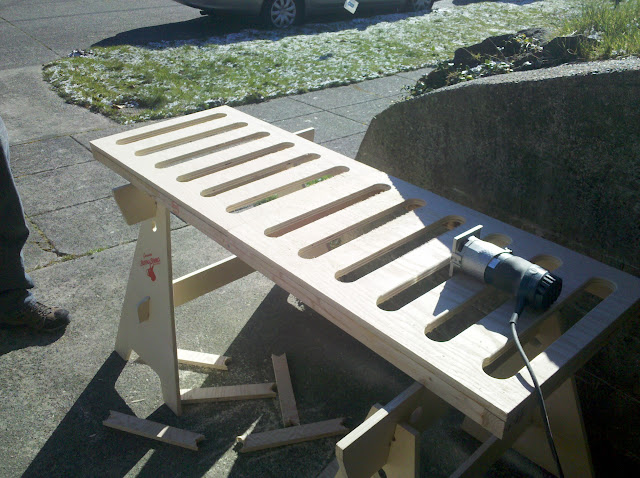
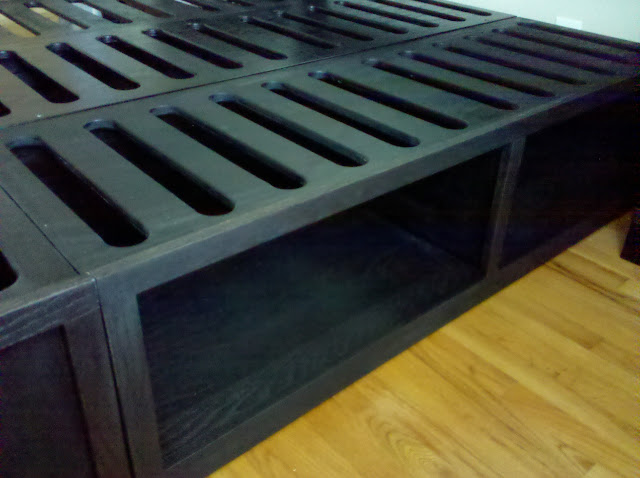
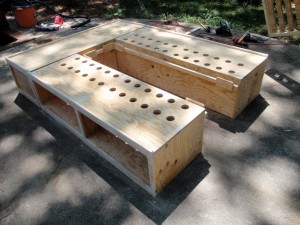
Slots were then finished with a circular saw, and rounded off with a trim-router. This was a very tedious process. Unfortunately, it was also deemed unnecessary once we decided on a foam-based mattress. FWIW, the slots make it much easier for a person to carry and assemble the pieces without assistance (this picture shows the center section over a 2×2 frame):

————————————————————
Staining:

A simple, one-step Minwax (stain/polyurethane) product was used on the parts that will not be seen once assembled. Many woodworkers are dismissive of the stuff, but I was happy as long as I didn’t get my hopes too high, and treated it more like paint. Yes, I just slathered it on with a brush and did my best to avoid the trim.

For the parts that would be seen (oak trim and sides of the foot bench), a three-part system was used: Analine dye, wiping stain, and then a polyurethane finish. This produced a nice result, although application errors with the poly led to a loss in the depth of the ebony color… oh well.
————————————————————
After a ton of sanding and staining, small rubber feet were attached to the bottom corners to protect both the benches and the floor:
————————————————————
Now inside: Here is a close-up of the pine 2×2 frame holding up the center section:

————————————————————
Screws were then used to hold all of the pieces together. In this shot you can see the that the finish from the one-step stain is OK, but not great:

————————————————————
Here you can see all of the benches and the center-support aligned with the headboard:

————————————————————
And here is a close-up of the oak trim. It is difficult to tell in the pictures, but the depth of the grain in the trim is much better where the three-part staining process was used:

————————————————————
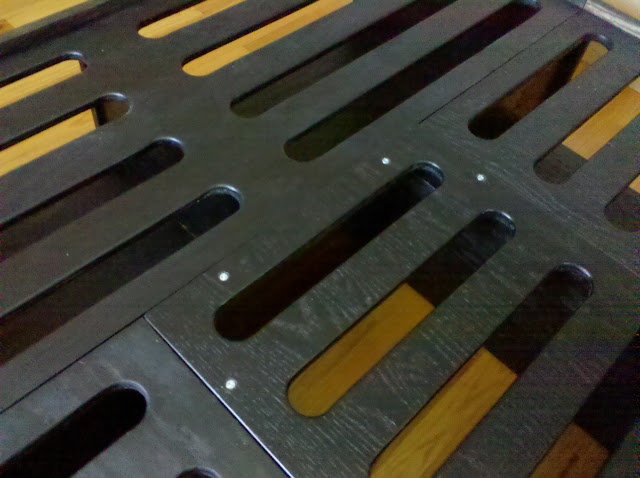
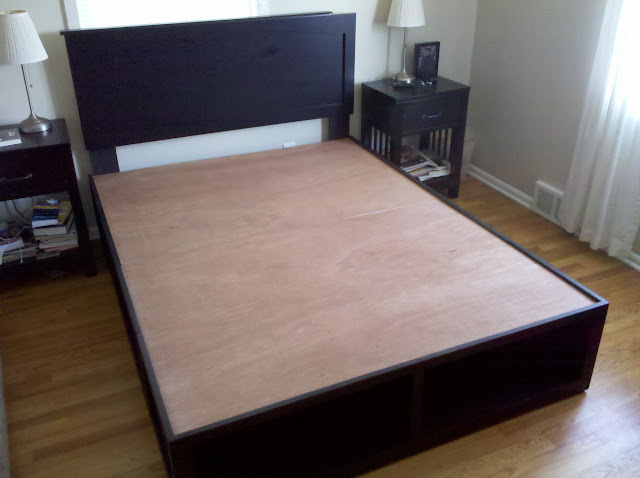
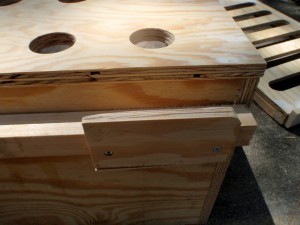
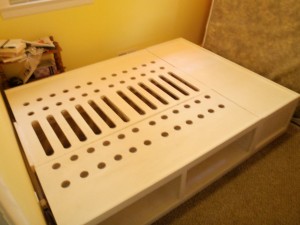
Unfortunately, the new mattress required a continuous support surface, so I had to cover the slots with 1/4″ lauan plywood! Approx. 1/2″ of the oak trim remains above the surface to prevent “mattress drift”:

————————————————————
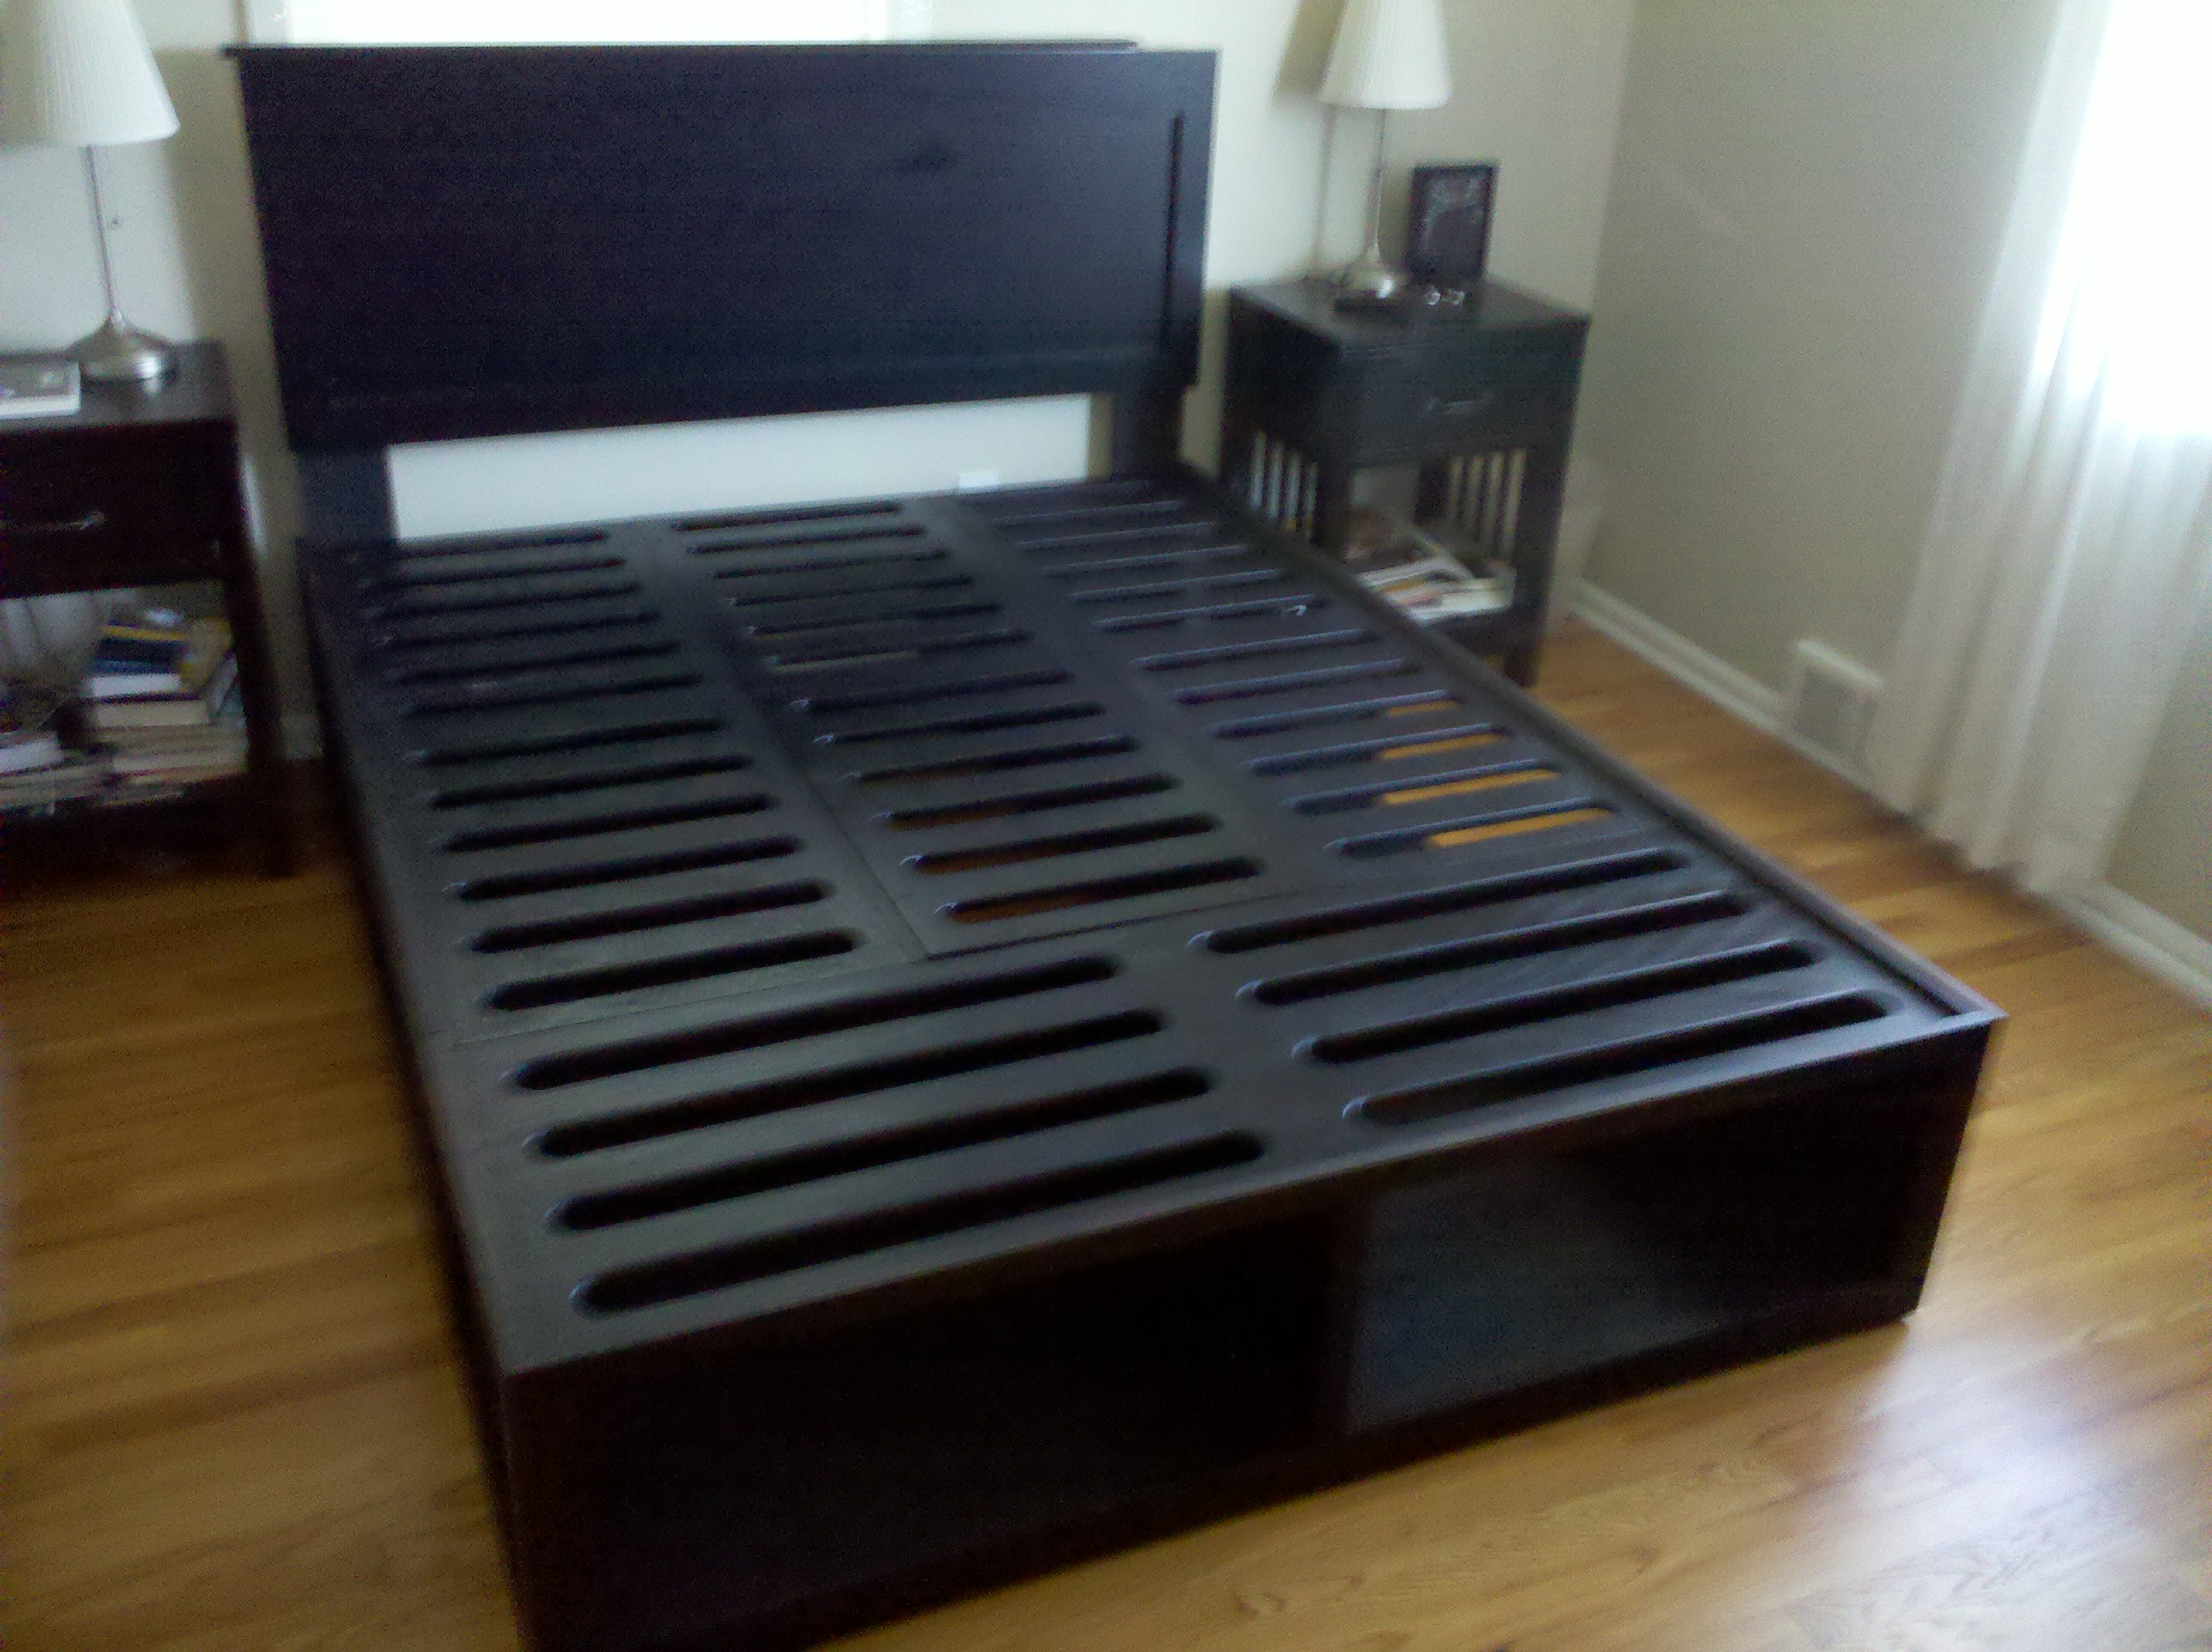
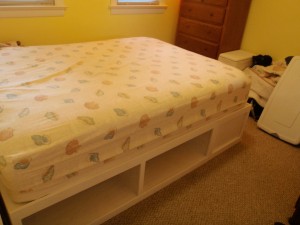
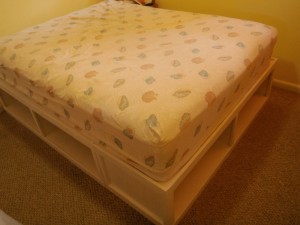
Finally, here is the finished product:

Building a Crib

This is the crib I built for our son.  I am working to purge all MDF from our home, and it didn’t seem like a good idea to buy a “cheap” crib (anyone who has priced them will know why I used italics there…).  My primary concern is formaldehyde and off-gassing in the home.  There seems to be some debate regarding the actual levels released from furniture that is more than a year old, but I decided to make the crib from Purebond plywood just to be sure .  Purebond uses a soy-based adhesive that is completely non-toxic (theoretically edible), and has an Oak veneer.  It is the same price as normal A/A quality plywood at Home Depot, so it seemed like a no-brainer.  I used Oak trim around the top, and Pine 2x2s for side supports/screwing together. It was finished with clear shellac (Zinsser), so that it could be safely chewed on.  Until researching this project, I didn’t know that pure shellac is FDA certified as a food additive (shiny candy and prescription drugs)!

Please note: take care if you decide to copy my design… be sure to follow all federal guidelines regarding width of the slots in front, and the minimum height from mattress to the rail of the crib when the mattress support is in its lowest position.

Overall Design: My drawings and specs will not be published. I feel that it is too important to make a crib that fits your mattress, so the exact measurements will be of little use. I followed the design characteristics of several cribs (both DIY and commercial). I really liked the oeuf cribs… However, this DIY design was the most influential for me:
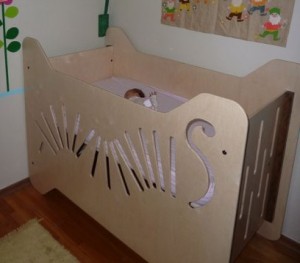
Crib Base and Mattress: The project began after taking the measurements of the mattress we bought. This way I could ensure that there was no void space along the edges… this is very important for safety. The base was made with a Pine 2×2 frame and Pine 1×3 slats. They were thoroughly adhered (with glue certified for “indirect food contact”) and a brad nailer was used to pin them down while drying.
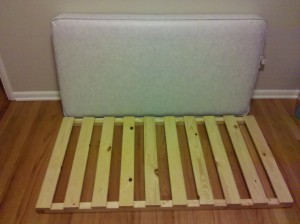
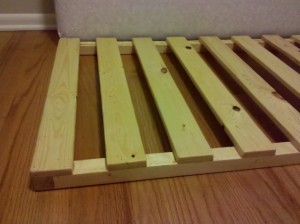
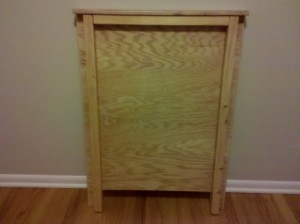
Crib Side: Pretty straightforward… glue and brads holding each 2×2 to the plywood.  The 2×2 under the top rail was used so that there is a nice solid handle to lift the unit.  A 4″ slot was cut out of the bottom to promote air circulation (or the losing of toys…)
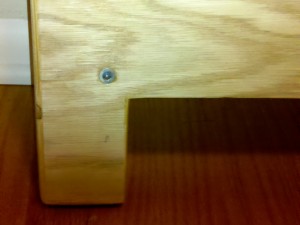
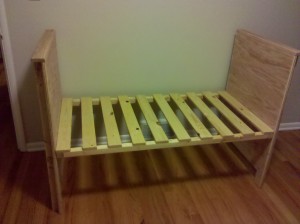
Crib Mattress Base Support: A close-up of the support mount insert for 1/4-20 hardware – this is the lower position for when the kid is sitting up. At first the mattress support will be screwed into the set of slots 12″ higher. Some cribs come with 3 or 4 mattress height options… from what I can tell, only two generally get used.
Mattress base with sides attached: Here the support is in the upper position that will only be used until the baby can sit up. The concern is that you can never tell when they are about to pull themselves up (and over) at that point!
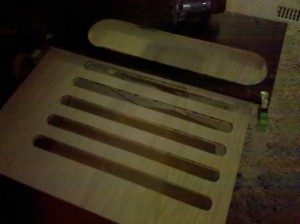
Routing the front slots: This was, by far, the most complicated part. I had to build a template that could be slid along the plywood, and could be kept square and secure in the process. I broke two router bits before I settled on a procedure of making five passes to get through the 3/4″ material. Once done, I used a roundover bit on a ball-bearing to smooth the edges before final sanding. It took quite some time to make sure all surfaces were smooth enough for little fingers. If you look at the zoomed image, you can also see that my cheap bit (I broke the expensive one!) also burned the wood in the process. Thankfully, this did not show up on the finished product.
Crib Front: The front panel was trimmed with Oak 1x2s and Pine 2x2s were glued and nailed to provide attachment points.
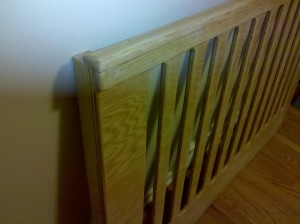
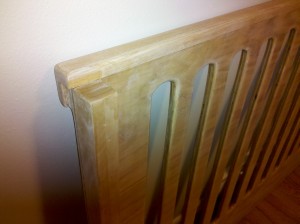
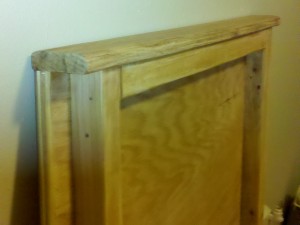
Attaching the front and back: this close-up shot reveals imperfections that are not visible during real-world use. The oak caprail along the sides was the last part attached after lots of sanding and trial fittings… this allowed for tight tolerances along the top where little hands may be grabbing.  3″ zinc wood screws were used to secure the pine 2x2s to each other.  Using this method, there were no exposed screws or holes on the inside of the crib, and there is plenty of material to be able to assemble/disassemble the crib many times.

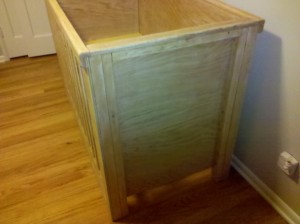
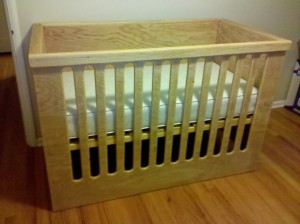
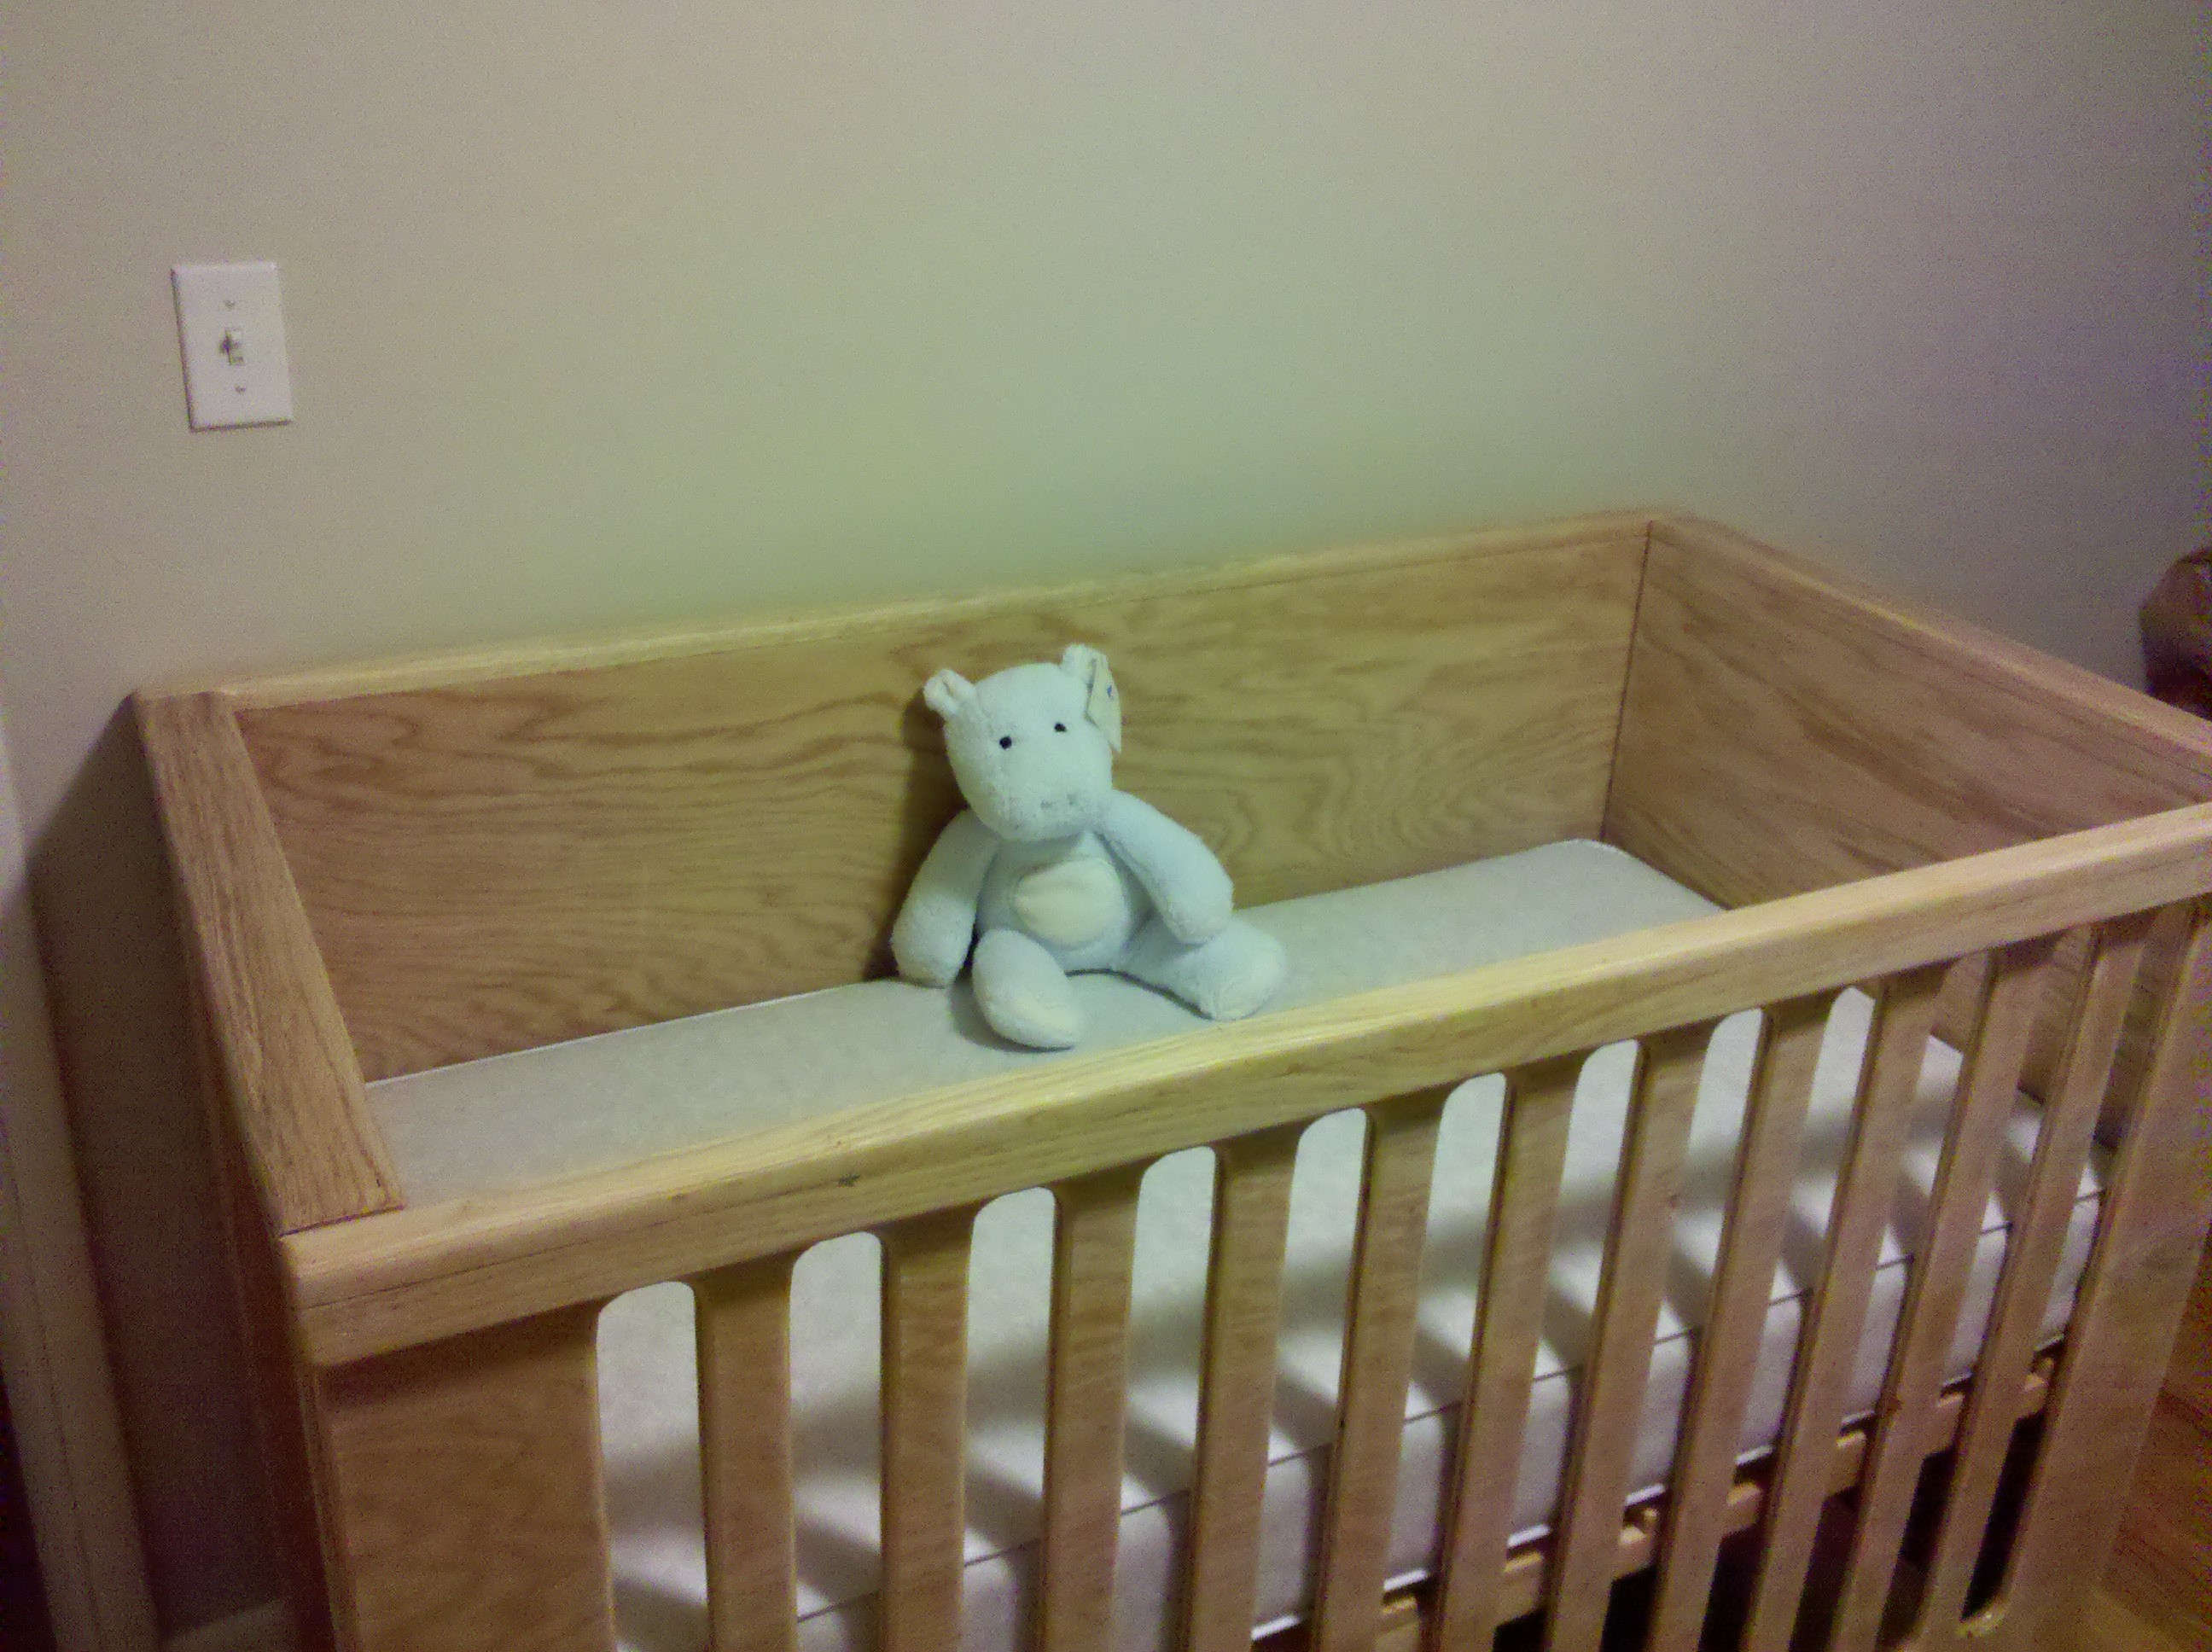
Fully assembled:
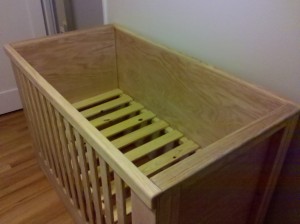
Testing it out: (editor’s note: no animals were harmed while testing or filming)
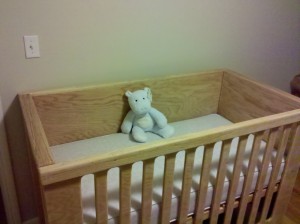
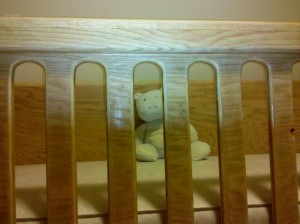
And finally, ready for Teddy: Here Ted is checking out his new “sleep sheep” (white-noise maker). Don’t worry… this is taken at an odd angle, and the sheep is hanging well above him.

For the future: I still need to work on building a new front for when it is converted into a toddler daybed. For this, I will build something similar to the oeuf conversion kit:
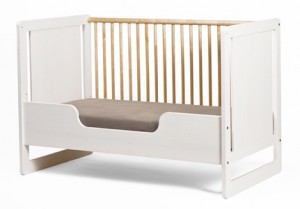
 

Test for a Custom Google Form


Custom Form Demo


This form is for demo purposes only. Entries will be displayed in a published spreadsheet found below.

Submitting this form will redirect you to the Google docs form tool @ http://sneakysheep.com/google-docs-form-tool.php


Building a Storage Bed Frame

This project was done as a joint effort with my friend Allison.

The design comes from Knock-off Wood.  If you haven’t seen Ana White’s website and reader submissions you should do that immediately.  She is quite an inspiration.  What follows is a close reproduction of the plans, except for a modification to the center-support to make it more user-friendly.  You will have to check out Ana’s design to see the differences.

Allison took all of these pictures, so our write-ups are going to look rather similar.

————————————————————

Step one: making the cuts

We had the guy at Lowe’s make several of the rips on their panel-saw to save us time.  Back in the shop, we then finished the final rips and several shorter cuts before starting the assembly.

————————————————————

Step two: glueing and screwing the “benches”

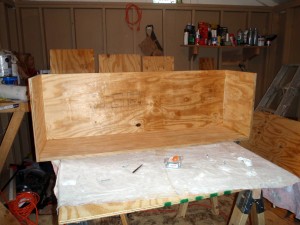
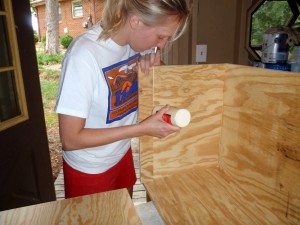
We started the assembly with copious amounts of glue and screws.  Here you can see Allison employing the guide that was used to apply the glue accurately, and then align the holes for screws on the other side of the panel.  This was a huge time-saver.

————————————————————

Step three: testing and posing

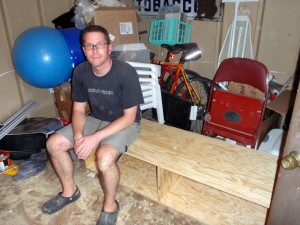
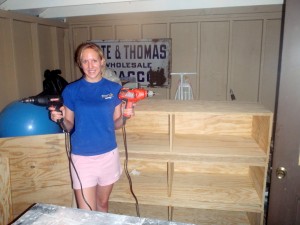
After putting together a few benches, we tested them out and posed a bit for the camera

————————————————————

Step four: constructing the center support

Comments from Anna’s readers and design modifications led us to believe that it was important to ensure that the mattress could breathe adequately.  We used a 2.25″ hole-saw to make beveled edges, and then linked the holes with cuts from the circular saw.  When you see the ventilation added to the benches, notice that we used only the holes… we had grown tired in the 100 degree heat and skipped the additional step there.  We also opted to keep the holes closer to the vertical support on the inside of the benches to reduce possible flex near the openings (probably not a serious concern).

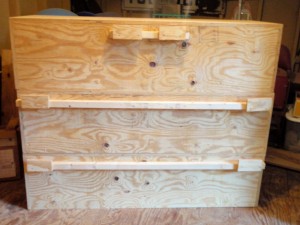
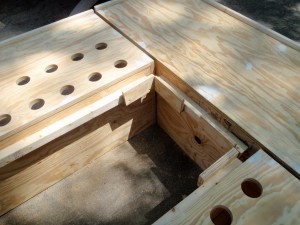
Another requirement was that the bed could be taken apart without power tools.  This lead to a re-design from the original 2×4 support that was supposed to be screwed to the three benches for assembly.  This version uses a 2×2 frame (with a 2×4 in the middle to join the two pieces of plywood) resting on top of 2×2 supports glued/screwed into the backs of each bench.  A key piece is that plywood “hooks” were added to create a structure that holds the three sections together tightly once dropped in place.  This took a bit of sanding and tweaking, but worked out quite well in the end.

Once set in place, you can see how the hooks keep the bed square and the sections aligned in all directions once the center piece is dropped in place.

————————————————————

Step five: trim, wood putty, and sanding

We used 1×2 and 1×3 pine furring strips to trim out the front of the benches.  It was quite handy to have a few two-foot clamps to keep everything straight.  If you look closely, you can see that we used 1×3 strips on the top edge instead of the 1x2s that Ana prescribes.  This was done to add a lip to keep the mattress from shifting.

Square-drive “trim head” screws were used on the strips to keep the holes small, and then wood putty was used to cover all of the screws. Even the screws that are covered by the mattress were patched and sanded to minimize damage to bedding materials.

————————————————————

Step six: paint and final assembly

Even with a single coat of primer, the bed looked great.  I would do a project like this again in a heartbeat.  It is worth repeating how essential Ana White’s plans were in making this a reality!

running log for the richmond marathon

Training/race recap:
As it turns out, 14 full weeks (15 – 1 week lost to injury half-way through) of preparation may not be enough.
My official split times were:
13.1 – 2:02:20
20.0 – 3:16:43
26.2 – 4:33:31
Based on my short and mid-distance runs, I thought it would be possible to run a 4 hour marathon. The longer runs in my training log clearly suggest that I should have tried to run closer to 4 hours and 20 minutes. The first half was run at a ~9:20/mile pace, but I started to slow around mile 17, and hit the wall around mile 20 (not unheard of…). In the end, I am simply happy to have finished. Let my training log, and overly-enthusiastic starting pace serve as a lesson.

This was also an excuse to explore the use of a Google spreadsheet to track my progress and publish results instantly.