This project was done as a joint effort with my friend Allison.
The design comes from Knock-off Wood. If you haven’t seen Ana White’s website and reader submissions you should do that immediately. She is quite an inspiration. What follows is a close reproduction of the plans, except for a modification to the center-support to make it more user-friendly. You will have to check out Ana’s design to see the differences.
Allison took all of these pictures, so our write-ups are going to look rather similar.
————————————————————
Step one: making the cuts
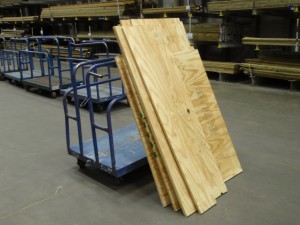
We had the guy at Lowe’s make several of the rips on their panel-saw to save us time. Back in the shop, we then finished the final rips and several shorter cuts before starting the assembly.

————————————————————
Step two: glueing and screwing the “benches”
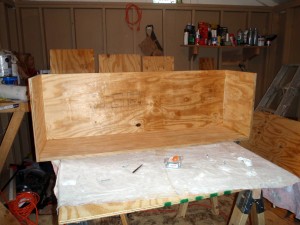
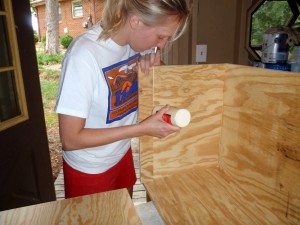
We started the assembly with copious amounts of glue and screws. Here you can see Allison employing the guide that was used to apply the glue accurately, and then align the holes for screws on the other side of the panel. This was a huge time-saver.
————————————————————
Step three: testing and posing
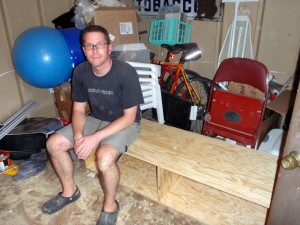
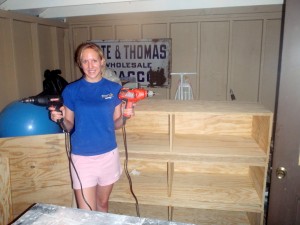
After putting together a few benches, we tested them out and posed a bit for the camera
————————————————————
Step four: constructing the center support
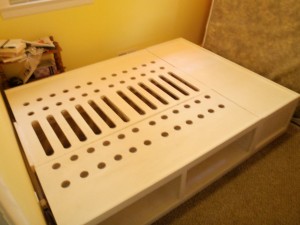
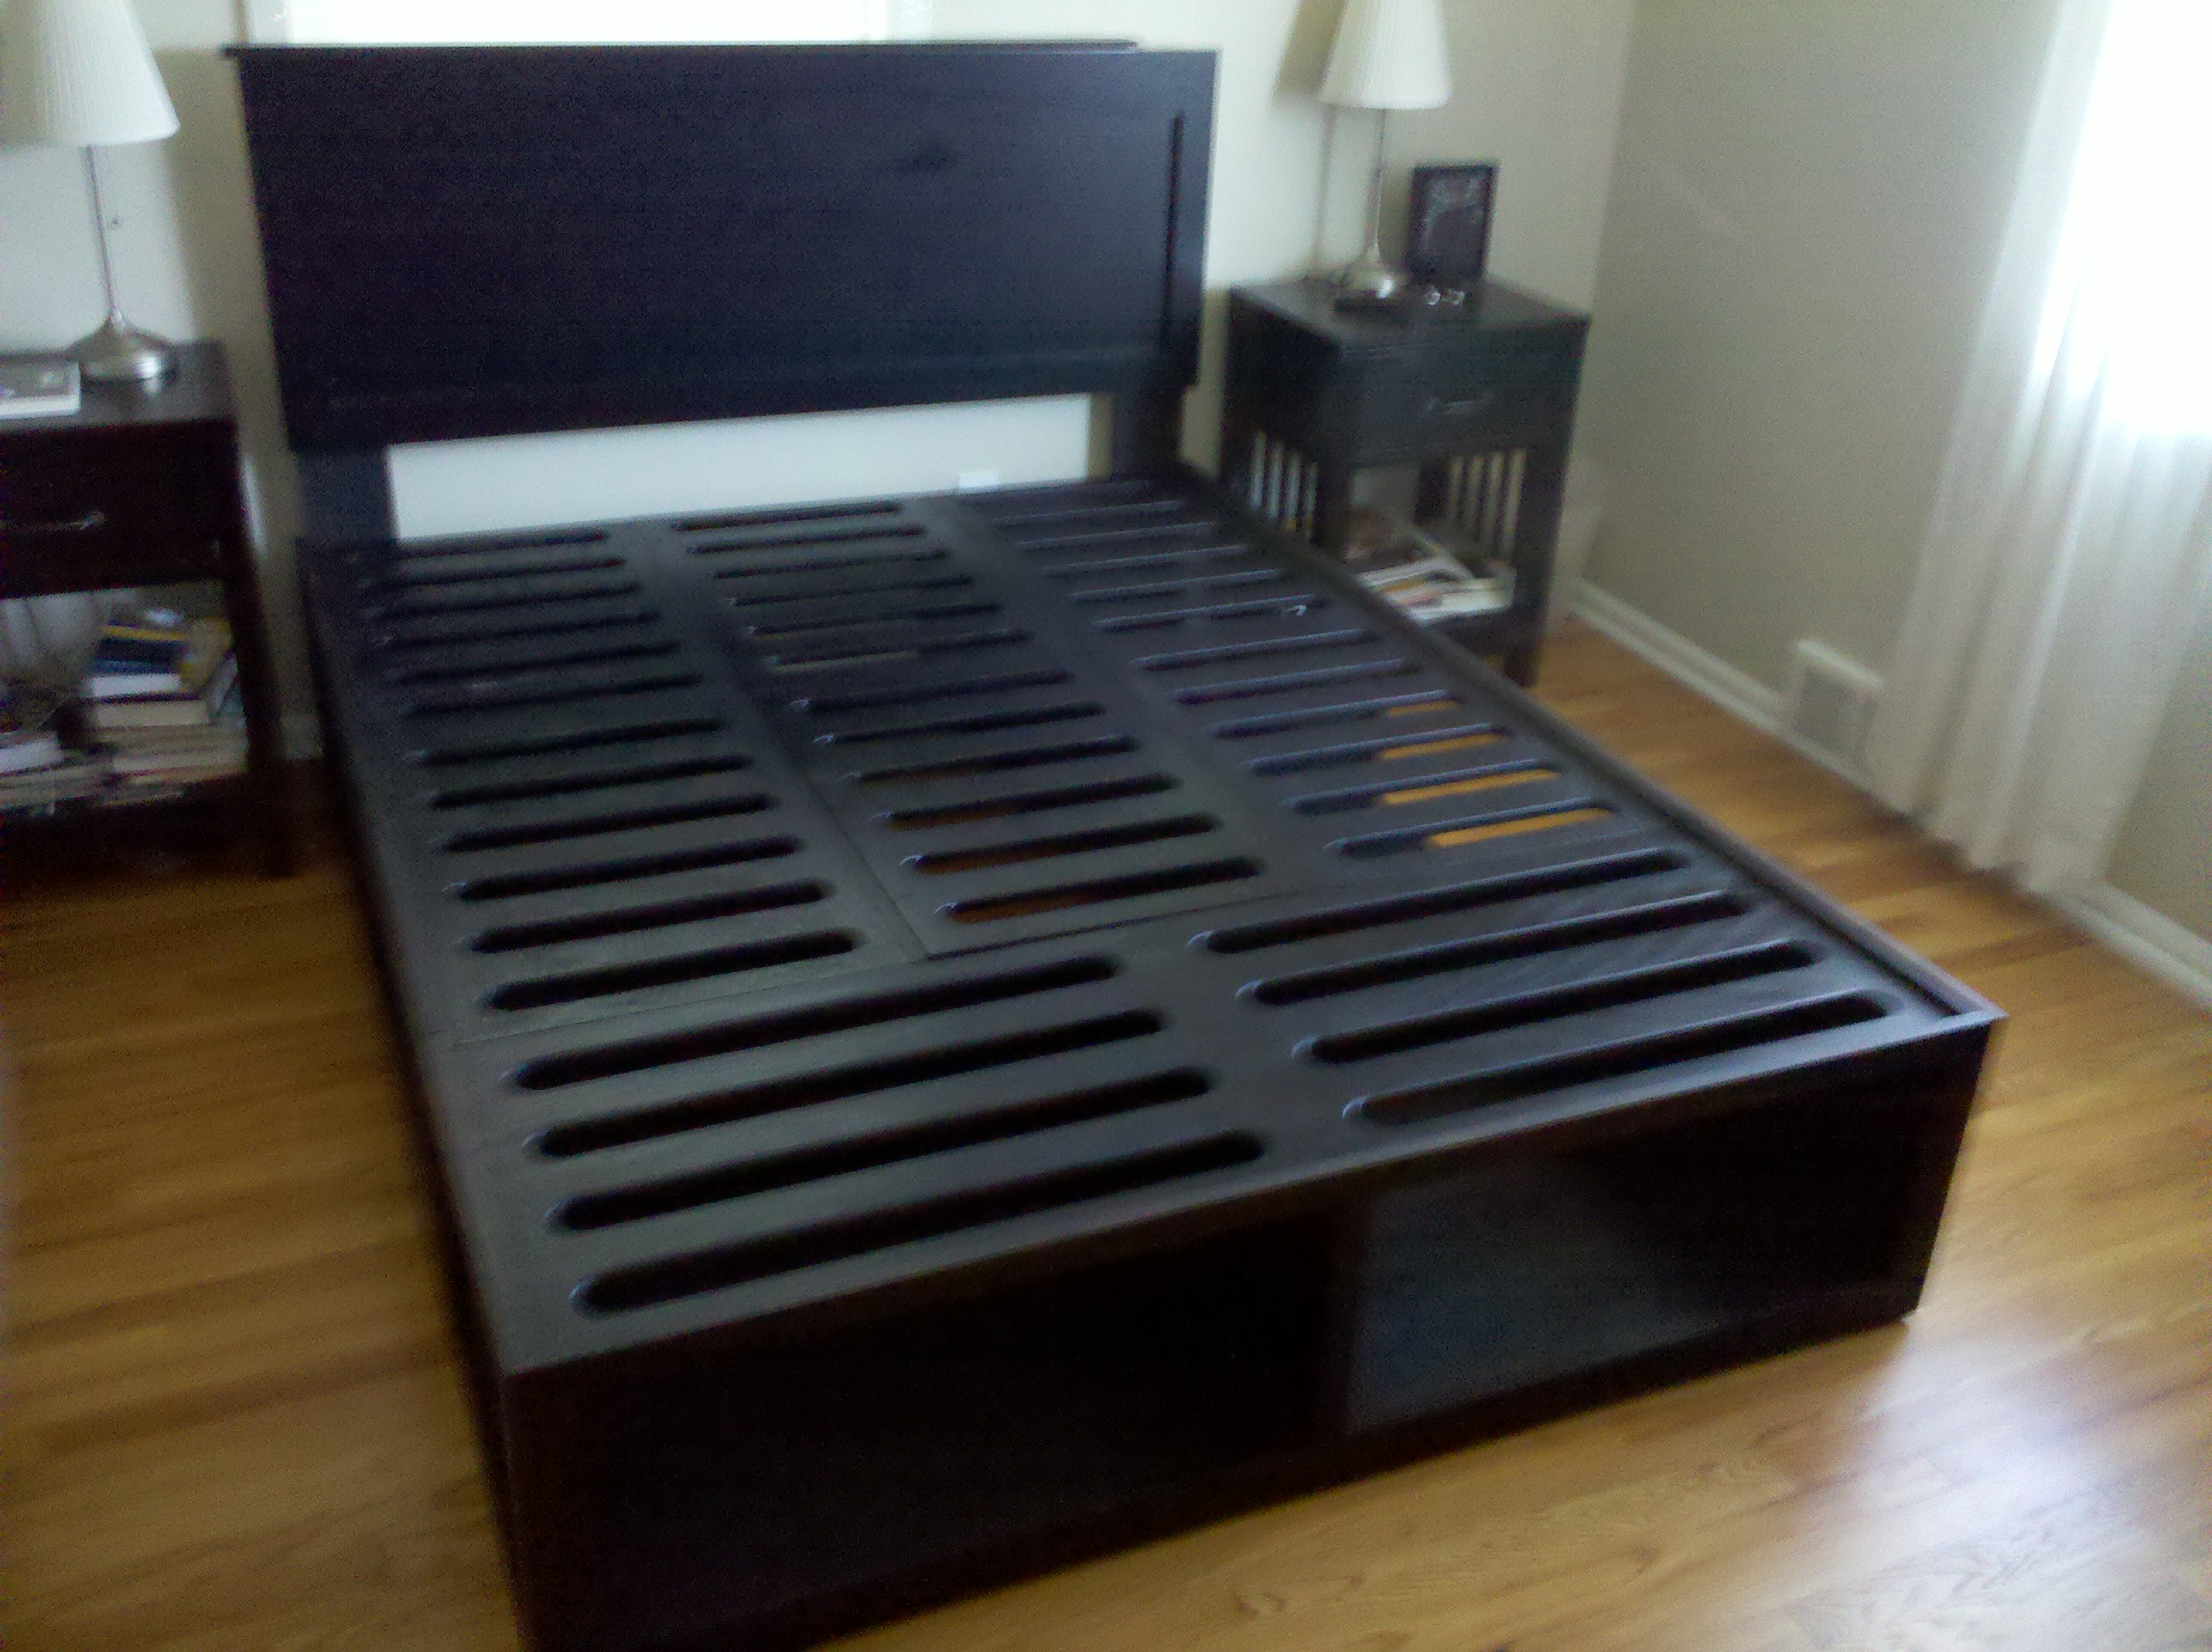
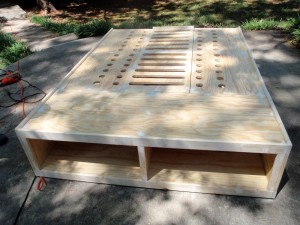
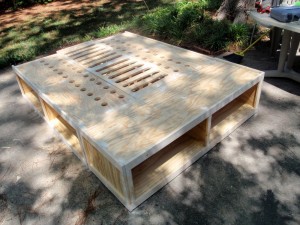
Comments from Anna’s readers and design modifications led us to believe that it was important to ensure that the mattress could breathe adequately. We used a 2.25″ hole-saw to make beveled edges, and then linked the holes with cuts from the circular saw. When you see the ventilation added to the benches, notice that we used only the holes… we had grown tired in the 100 degree heat and skipped the additional step there. We also opted to keep the holes closer to the vertical support on the inside of the benches to reduce possible flex near the openings (probably not a serious concern).


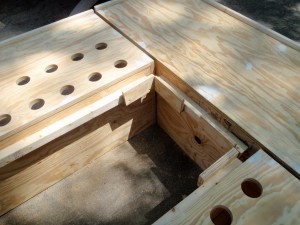
Another requirement was that the bed could be taken apart without power tools. This lead to a re-design from the original 2×4 support that was supposed to be screwed to the three benches for assembly. This version uses a 2×2 frame (with a 2×4 in the middle to join the two pieces of plywood) resting on top of 2×2 supports glued/screwed into the backs of each bench. A key piece is that plywood “hooks” were added to create a structure that holds the three sections together tightly once dropped in place. This took a bit of sanding and tweaking, but worked out quite well in the end.
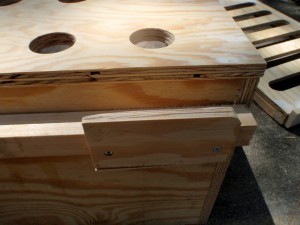
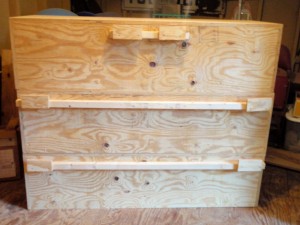
Once set in place, you can see how the hooks keep the bed square and the sections aligned in all directions once the center piece is dropped in place.
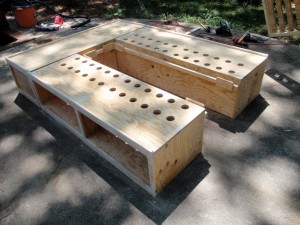
————————————————————
Step five: trim, wood putty, and sanding
We used 1×2 and 1×3 pine furring strips to trim out the front of the benches. It was quite handy to have a few two-foot clamps to keep everything straight. If you look closely, you can see that we used 1×3 strips on the top edge instead of the 1x2s that Ana prescribes. This was done to add a lip to keep the mattress from shifting.
Square-drive “trim head” screws were used on the strips to keep the holes small, and then wood putty was used to cover all of the screws. Even the screws that are covered by the mattress were patched and sanded to minimize damage to bedding materials.
————————————————————
Step six: paint and final assembly
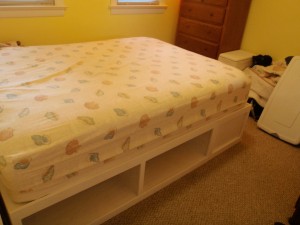
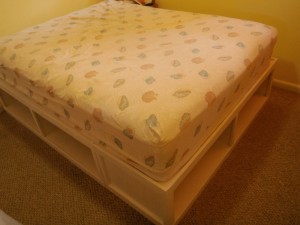
Even with a single coat of primer, the bed looked great. I would do a project like this again in a heartbeat. It is worth repeating how essential Ana White’s plans were in making this a reality!
